
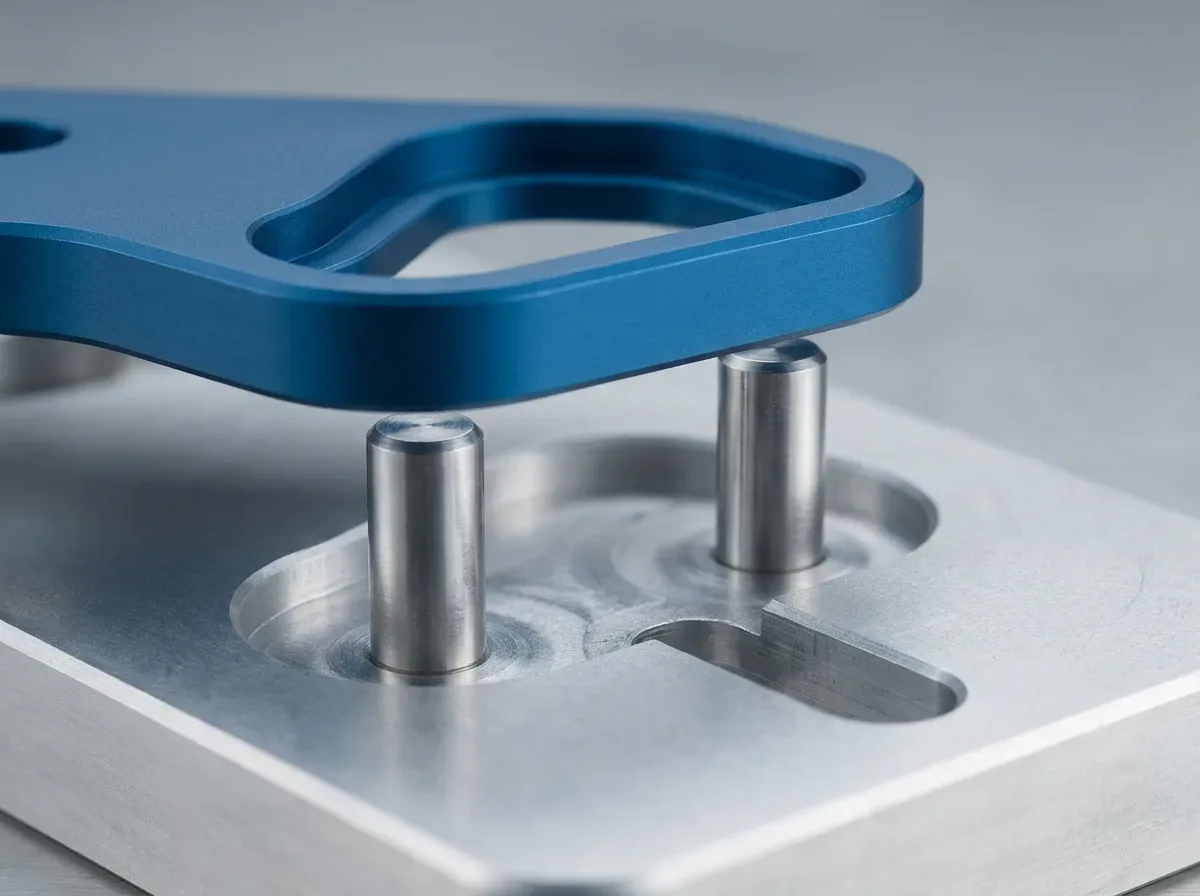
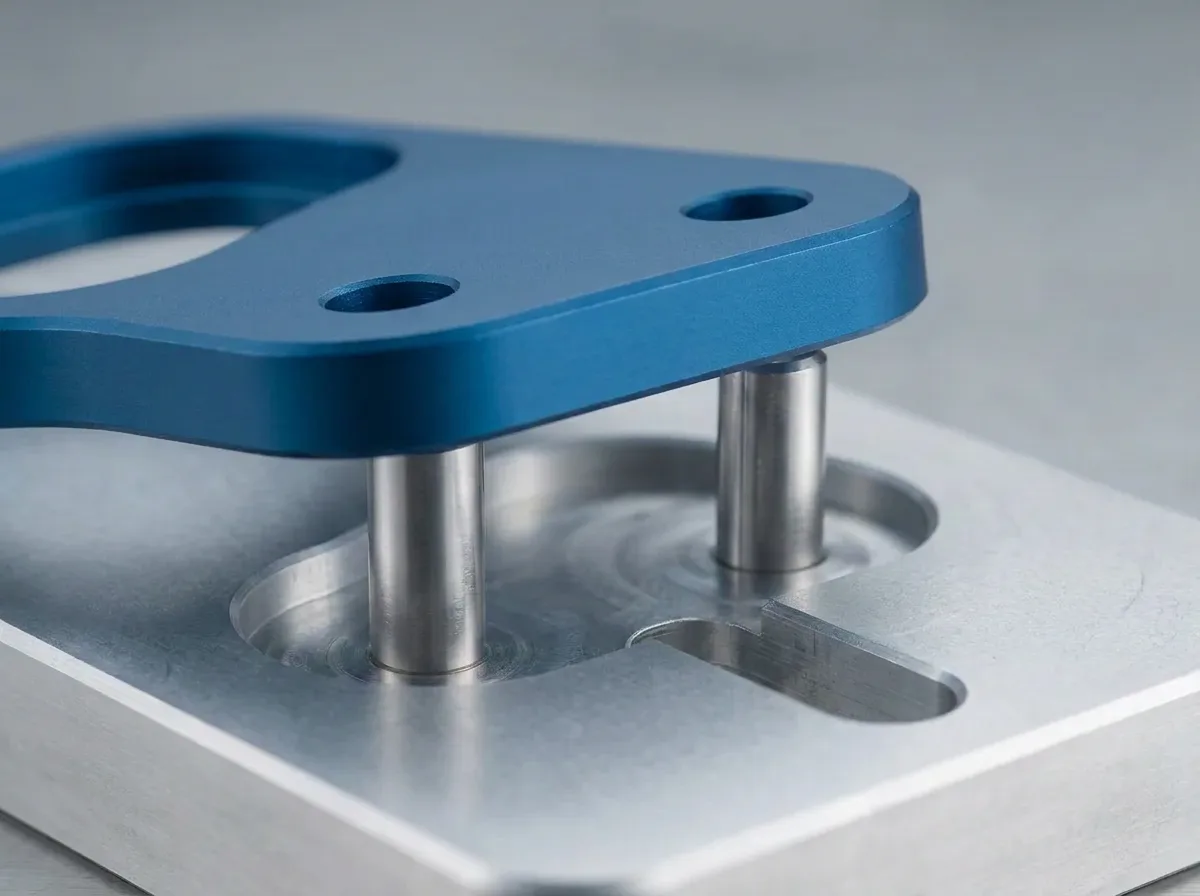
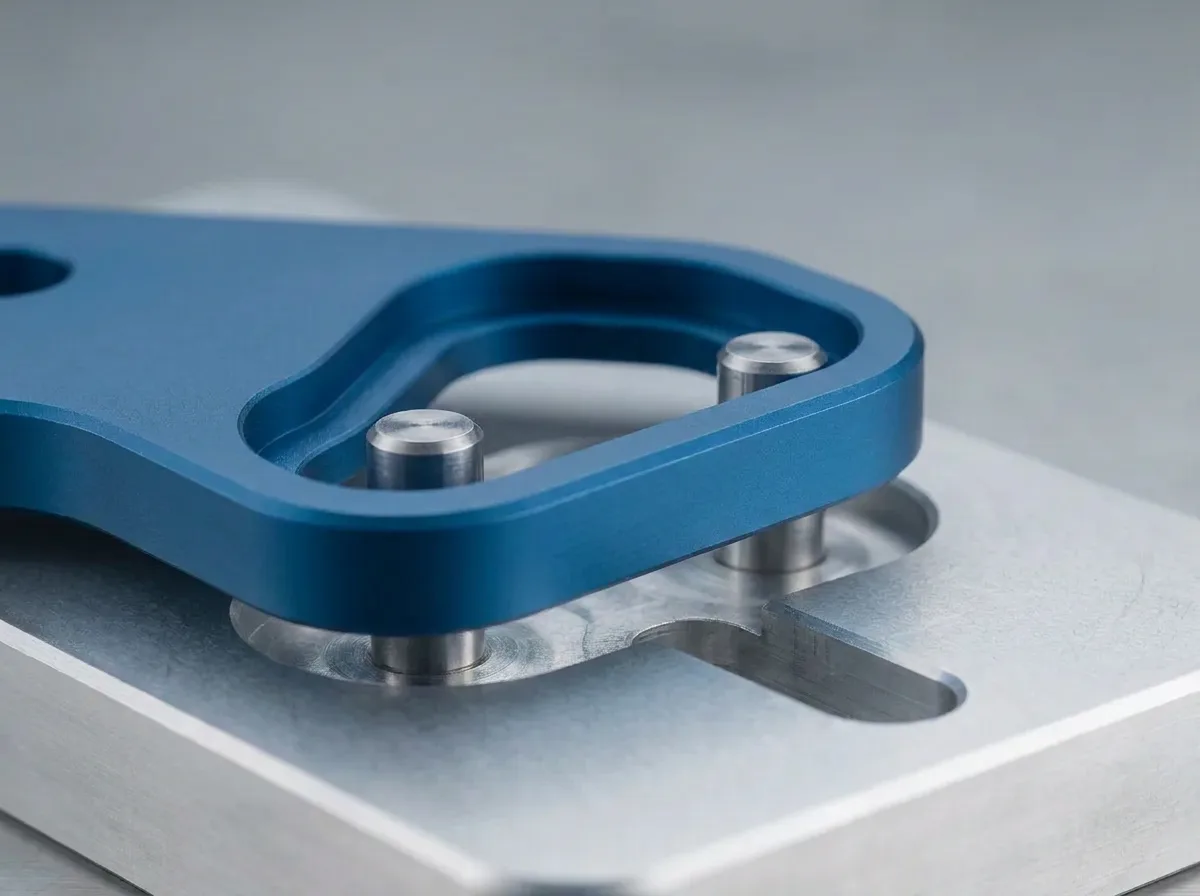
Fixture with two locating pins
Set the plate down turned around first, then turn it and set it down again.
Nothing tried yet.
This guide is for manufacturing engineers, technicians, and line supervisors on the shop floor. You will leave with a method to select, build, test, and maintain mistake-proofing devices across your stations. You can run trials today.
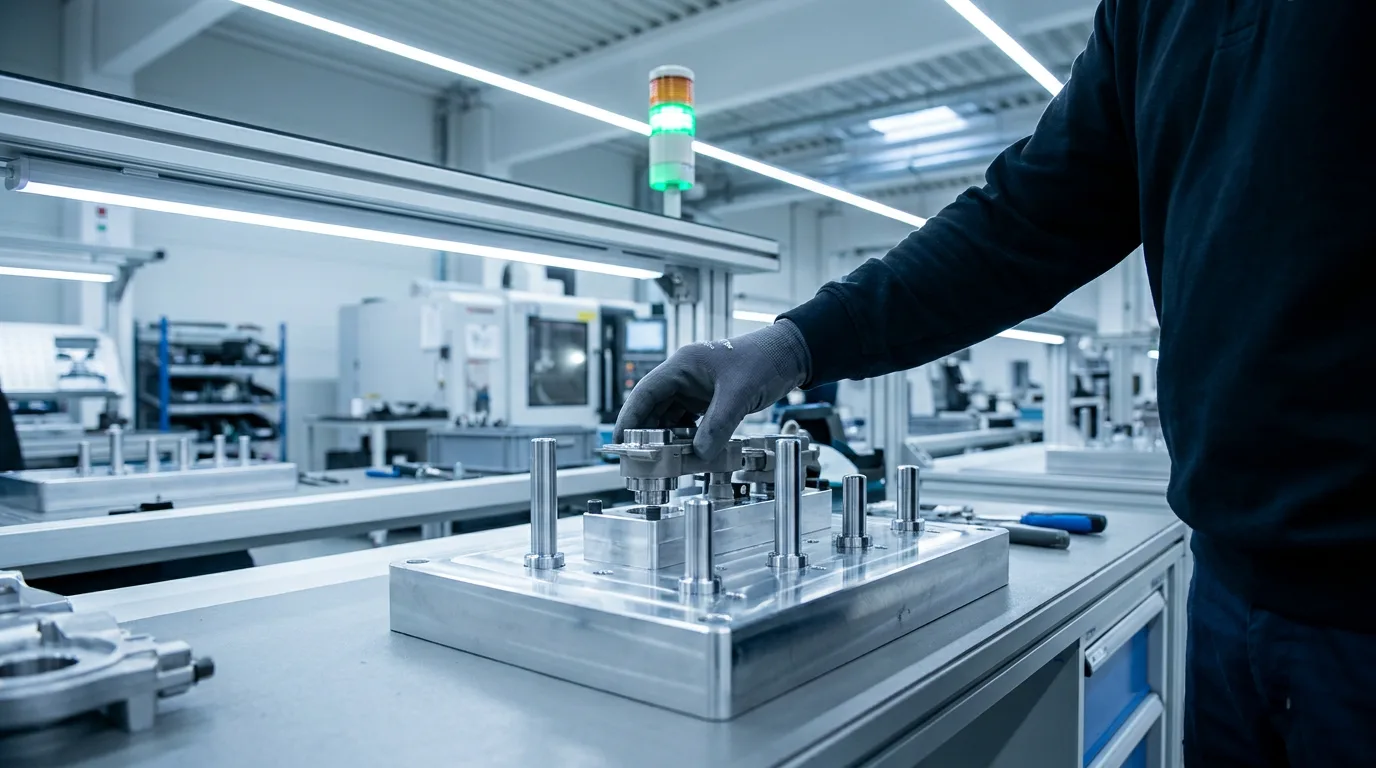
A poka-yoke safeguard makes a specific error impossible, or catches it before the work moves on. Errors are inevitable human actions, while defects are the avoidable consequences of unintercepted errors. Visit the poka-yoke dictionary entry for its origin, the full classification, and the worked example. This operational guide shows you how to select, build, test, and maintain practical devices on your line.
Contact methods detect abnormalities in part shape, dimensions, or orientation using direct mechanical, optical, or electronic contact. Fixed-value methods check operations where a specific, fixed number of actions or components are required. Motion-step methods ensure operations are carried out in a strictly defined chronological order. Try the three stations below to see how fixtures refuse turned plates, missing screws, and disordered bins.
Set the plate down turned around first, then turn it and set it down again.
Nothing tried yet.
Press Release part first, before torquing four screws.
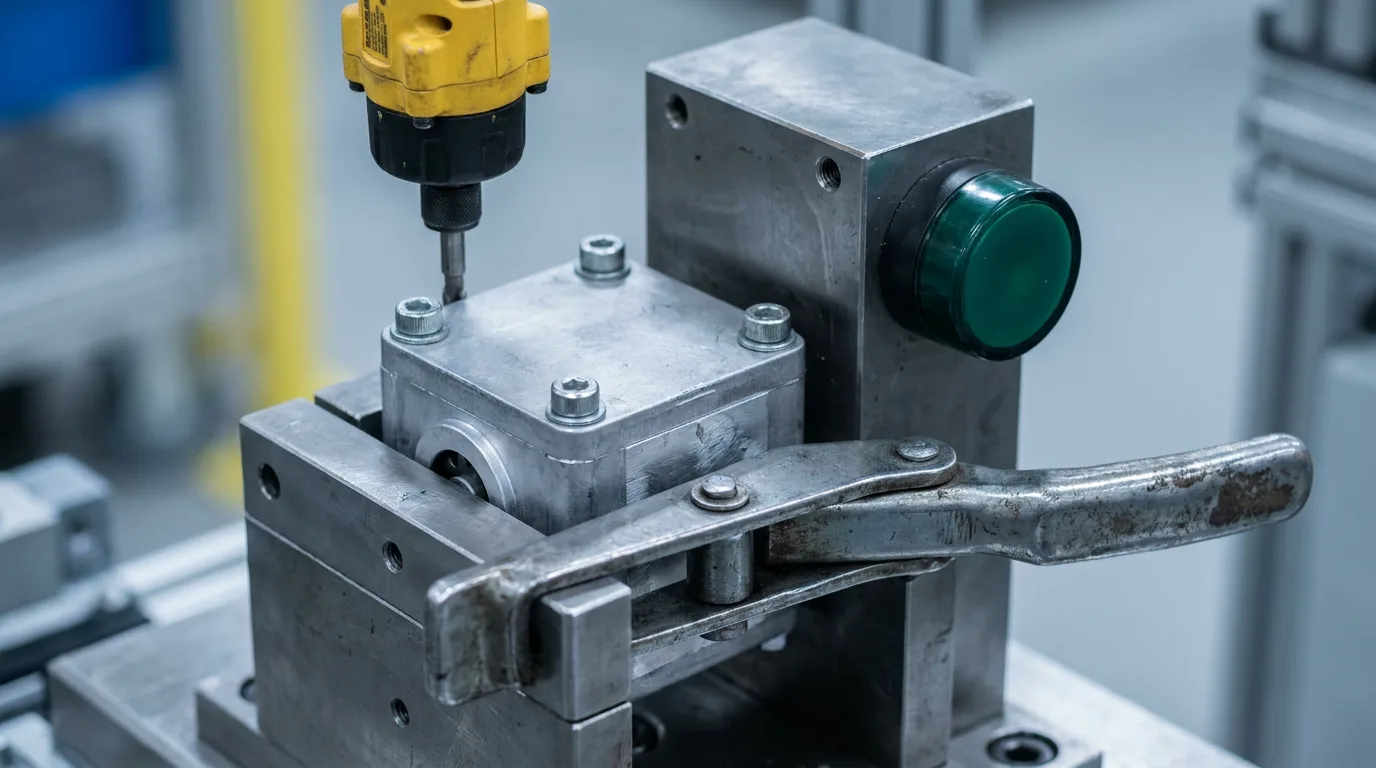
Nothing tried yet.
The build order is bin 1, then 2, then 3. Press bin 3 first.
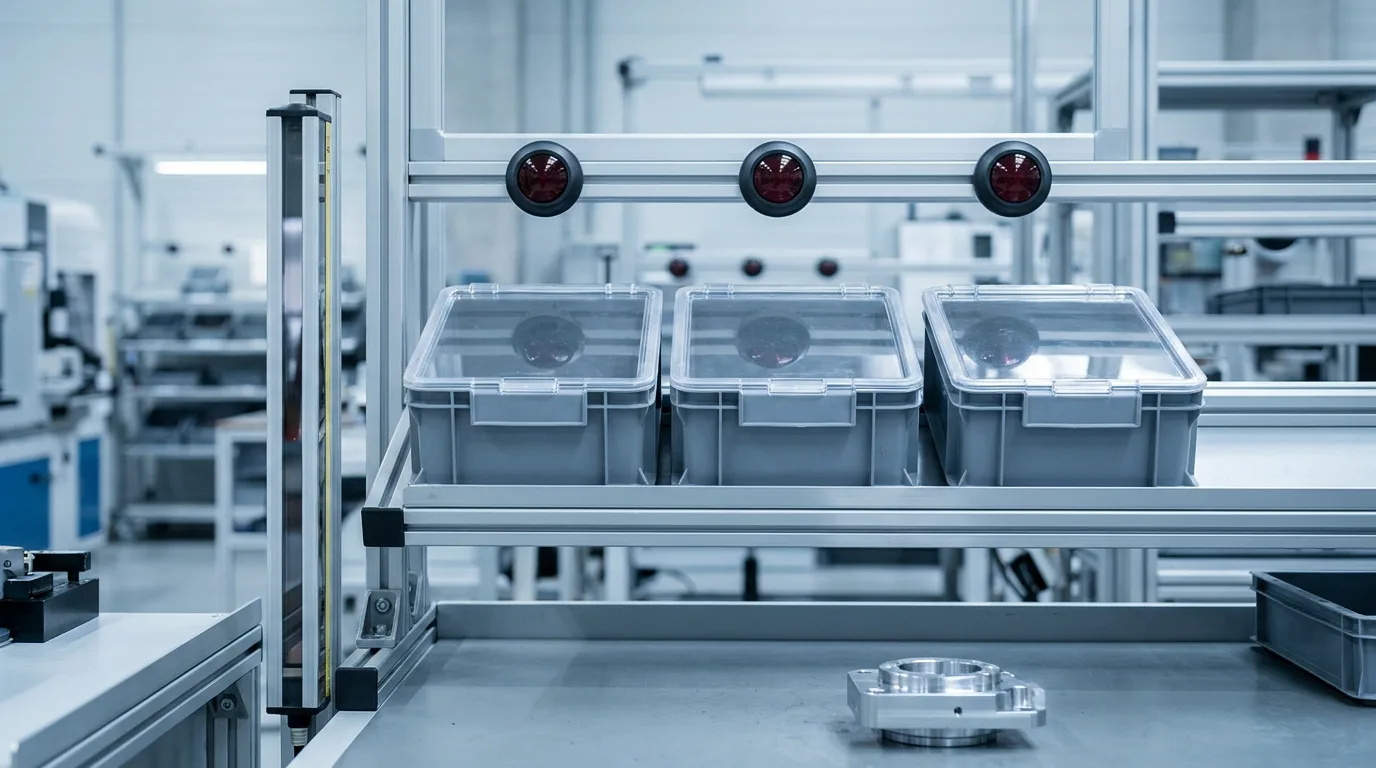
Nothing tried yet.
Mistake-proofing mechanisms protect operations across healthcare, food packaging, logistics, commercial construction, software development, and administrative offices.
Healthcare facilities rely on mechanical interlocks to protect patient safety during routine procedures. Medical gas cylinders use the pin-index safety system, where unique pin spacing prevents connecting a nitrous oxide cylinder to an oxygen regulator. Enteral feeding tubes use ENFit connectors, which have mechanical threads that cannot physically mate with intravenous ports. Nurses scan patient barcode wristbands to verify medication matches the electronic medical record before administering any dose. Surgical teams use RFID-tagged sponges that an electronic scanner counts before surgeons close an incision.
Food and beverage processors install mechanical gates to maintain strict sanitation standards. Ingredient stations use color-coded, physically keyed scoops and bins that prevent workers from mixing allergen powders into allergen-free mixing hoppers. Bottling plants position optical fill-level sensors over conveyors, triggering pneumatic reject gates that kick underfilled containers into a rework bin.
Logistics hubs use physical interlocks to prevent equipment collisions and picking errors. Loading docks feature electronic door locks interlocked with wheel chocks, preventing the roll-up door from opening until the trailer wheels are locked. Order pickers push pick carts equipped with integrated weight scales that compare bin mass against expected unit weight to stop incorrect picks.
Construction projects prevent structural failures through engineered hardware constraints. Scaffolding teams install one-way locking pins that drop through matching sleeves only when ledgers and transoms lock square. Concrete form crews attach high-visibility plastic rebar caps that expose a colored collar only when pressed down to the required depth.
Software teams eliminate human error through automated workflow gates. Cloud storage consoles require administrators to type the exact target resource name into a text box before confirming bucket deletion. Software repositories use automated pre-commit hooks that inspect source code and reject commits containing plain-text passwords or secret keys.
Administrative operations use software and mechanical blocks to protect information flow. Enterprise forms disable document submission buttons until users populate all mandatory fields with valid data formats. Commercial document shredders incorporate optical interlocks that shut off the motor when the collection bin unseats from the cutting frame.
Maintenance shops can build effective mistake-proofing devices from common hardware rather than ordering complex commercial solutions.
Fixtures and nesting jigs enforce correct part alignment using physical boundaries. Machinists mill locating pins into aluminum base plates to match asymmetric hole patterns in the raw component. If a worker loads the blank backward, the blank rests on top of the pin instead of sitting flush.
Mechanical limit switches and miniature photo-eyes verify presence before machine cycling. Technicians wire a roller-lever limit switch in series with a drill press trigger so the spindle will not spin without the clamp down. Photo-electric sensors aimed across a fixture verify that an operator inserted an internal backing plate before initiating a spot weld.
Digital stroke counters and keyed containers eliminate missing components during assembly. An inexpensive digital impulse counter wired to a pneumatic cylinder prevents cycle completion until the tool strokes the correct number of times. Keyed part bins feature distinct mechanical slots that match specific component tabs, preventing wrong hardware from sitting in the assembly tray.
Use the tool below to filter through our library of simple shop-built mistake-proofing mechanisms.
Teams often make the mistake of buying complex sensors before understanding the precise physical nature of the error. Effective mistake-proofing starts at the workstation by analyzing the specific error that operators make during the assembly cycle. Analyzing failure modes during FMEA reveals the recurring error patterns that damage process quality. You can also evaluate these failure modes using our interactive FMEA template.
When the error involves wrong orientation, designers must implement asymmetric contact tooling. If a square plate with an offset hole gets installed upside down, install a locating pin that accepts the plate only one way. When the error involves missing parts, apply fixed-value kits or presence-sensing proximity switches. If an operator frequently omits an O-ring, route the parts through a kitting cup that holds exactly one seal per cycle.
When the error involves a skipped assembly step, implement motion-step gate controls. Wire an ultrasonic proximity sensor over a lubricant reservoir to confirm the operator dips the shaft before inserting it into the bushing. When the error involves wrong fastener counts, install an automated stroke counter that ties into the clamp cylinder. The error pattern directs the mechanical design, ensuring simple devices that solve real root causes identified in root-cause analysis.
Walk through our guided decision model below to map your specific workstation error to an effective device family.
Speed of implementation matters more than cosmetic perfection when a recurring error threatens your product quality. You can build, validate, and harden a working poka-yoke mechanism across two working shifts at the gemba.
During the first shift, gather the station operator, the maintenance technician, and the area line supervisor. Stand at the workstation and observe twenty consecutive production cycles to observe the exact hand movements where the error occurs. Name the error clearly using concrete physical terms, such as reversed orientation or omitted lock washer. Find cardboard, scrap sheet metal, duct tape, or wooden blocks, and fabricate a temporary physical guide directly on the active fixture. Run thirty cycles with the temporary mock-up in place to verify that it blocks bad parts without slowing down production.
During the second shift, the maintenance technician converts the temporary mock-up into durable, permanent tooling. The technician machines a steel block, welds a steel pin, or mounts a hardened roller switch into the fixture base. Wire any electrical interlocks directly into the machine safety circuit to ensure the tool cannot operate when parts sit improperly. Update the written standard work sheets to document the physical check, and demonstrate the new mechanism to operators across all operational shifts.
A mistake-proofing device protects quality only if it functions correctly on every cycle without mechanical failure or operator bypass. Mistake-proofing devices directly protect your factory first-pass yield, which degrades rapidly if shop teams neglect ongoing device maintenance.
Implement red rabbits to test device readiness at the start of every production shift. A red rabbit is a known defective component, painted bright red, that deliberately violates the dimensional or physical tolerance of the fixture. The station operator must load the red rabbit into the fixture before running production parts. If the fixture accepts the red rabbit, the sensor has drifted or failed, and the line must stop for adjustment.
Prevent intentional bypass by making proper operation faster and easier than defeating the mechanism. Operators tape over photo-eyes or jam limit switches with cardboard when devices cause false stops or introduce awkward ergonomic reaching motions. Design interlocks that require dual-action confirmation, such as pulsing optical curtains that reject static taped surfaces. Mount all switches inside enclosed steel brackets with security fasteners so that bypass attempts become immediately visible to supervisors during routine walks.