
Quality at the source guide for manufacturing plants
Build checks into every workstation so bad parts stop moving before cost piles up.
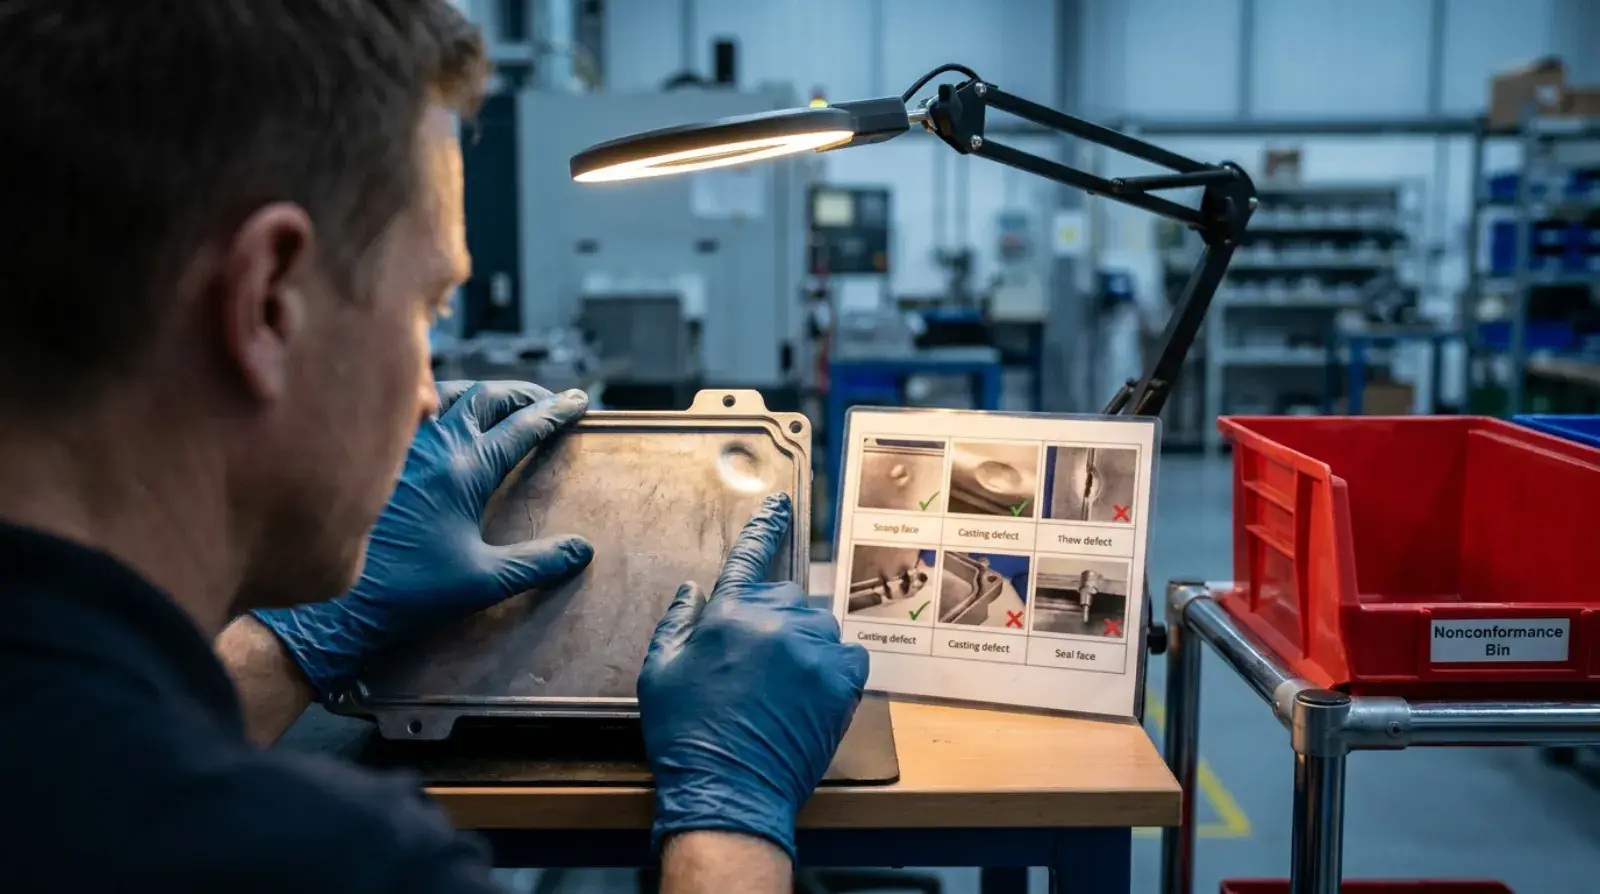
Quality at the source means every workstation verifies its own output before sending parts down the line. The operator at the station owns the quality of their work instead of relying on a distant inspection department. Catching nonconformances immediately protects downstream machines from running scrap, cuts sorting costs, and prevents defects from reaching your customer.
 Plant course 8 lessons 18 minutesSee how one plant teaches source quality to operators
What quality at the source means
Quality at the source means each process confirms its own output is good before the part moves on. The operator owns the quality of their work instead of relying on a separate inspector as the primary check. The concept comes from jidoka at Toyota, starting with Sakichi Toyoda and his 1924 automatic loom that stopped when a thread broke so no bad cloth was woven. Shigeo Shingo developed source inspection further in his 1986 book on zero quality control. Quality control inspecting finished parts and quality assurance audits both remain, but far fewer escapes reach them.
The true cost of late detection
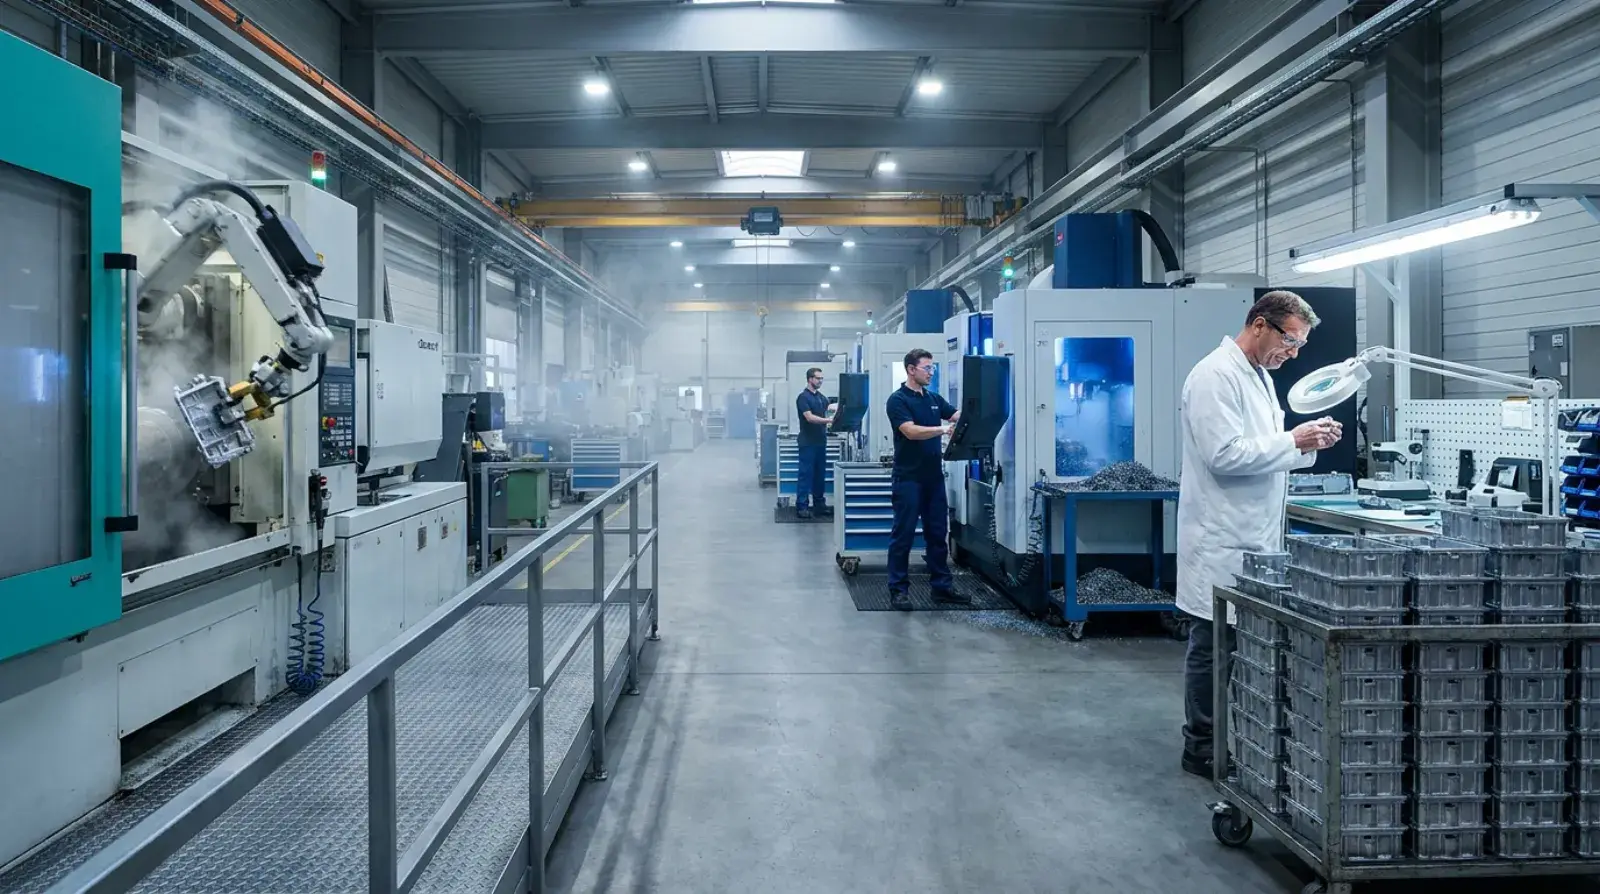
Every downstream operation adds machine cycles, direct labor, and extra materials to an already defective workpiece. End-of-line checks catch problems only after that expense is sunk. Defective product ranks among the main wastes in lean manufacturing. When nonconforming items escape the plant, the bill multiplies through emergency sorting, expedited shipping, warranty claims, and damaged customer relations.
Expense rises tenfold as defects pass between production steps and reach final delivery.
Three types of inspection
Plants use three distinct inspection methods along the production sequence. Understanding who conducts the check and when it occurs helps teams choose the right verification technique for each critical feature on the control plan.
| Inspection type | Who checks | What happens |
|---|---|---|
| Self-inspection | Current machine operator | The worker examines their own completed part right after production. It provides immediate feedback, though workers can occasionally overlook their own habitual mistakes. |
| Successive inspection | Downstream machine operator | The next worker in line checks incoming parts before beginning their cycle. This places a second pair of eyes on critical dimensions. |
| Source inspection | Operator or station setup | Checks operating conditions like tooling wear, fixtures, and raw materials before cycling the machine. This verification method naturally leads to mechanical error-proofing. |
Both self-inspection and successive inspection catch a defect one step after it occurs. Source inspection checks operating conditions before work begins so the defect is never made at all.
The three rules of station quality
Teams maintain high quality output by enforcing three clear operational rules at every manufacturing station. When operators follow this unbroken chain across each step, stations protect each other and keep nonconforming material from moving through the plant.
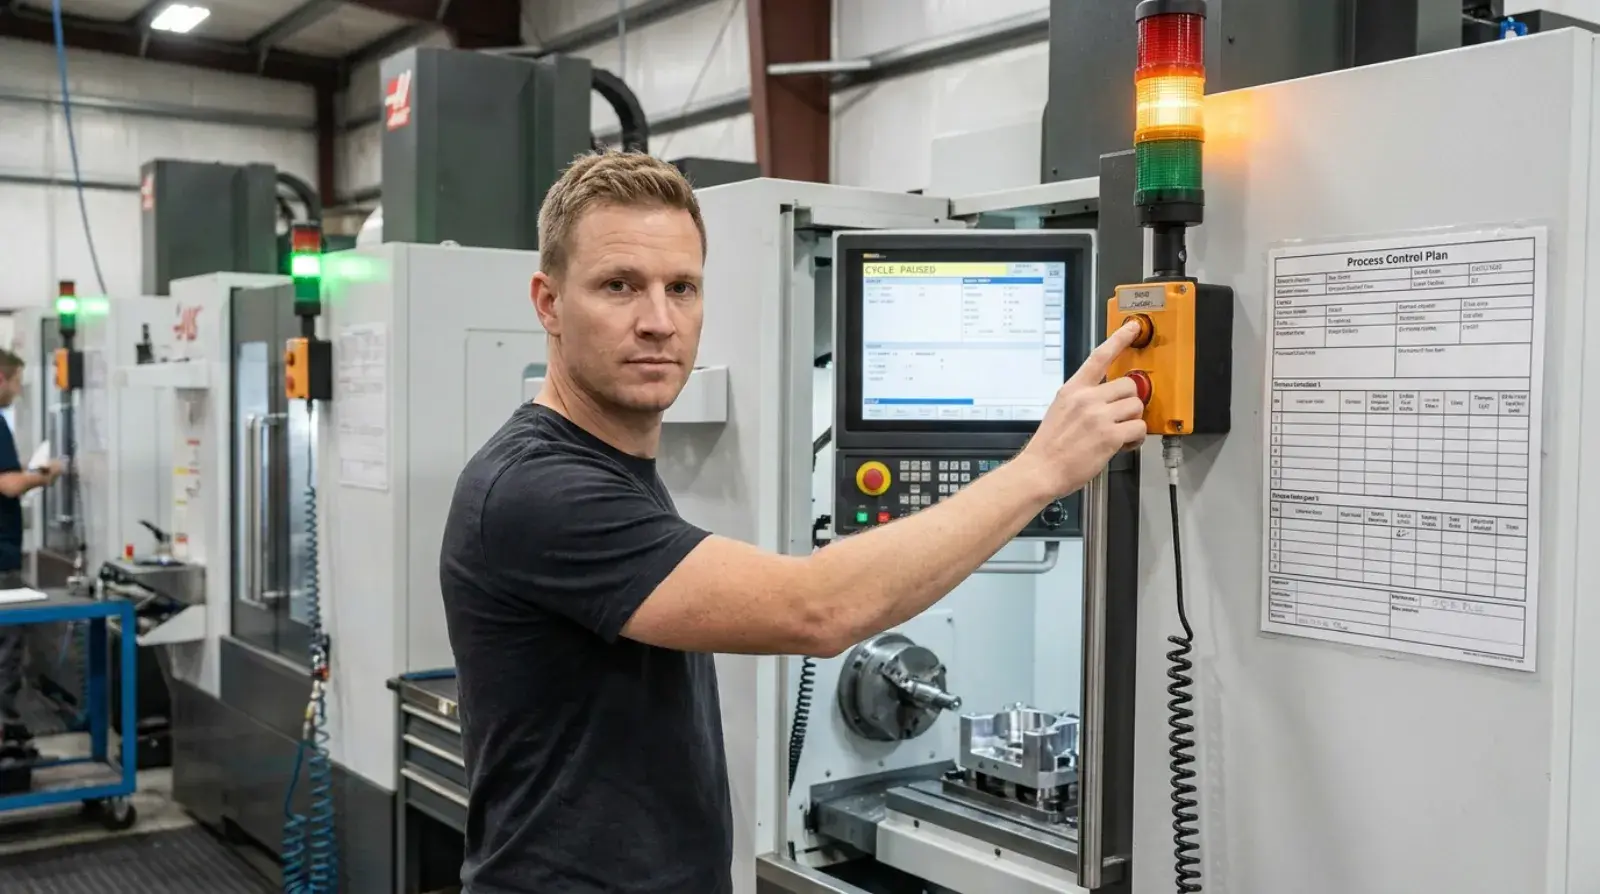
Standard response when a check fails
Set nonconformance reaction steps in advance before problems occur during a shift. Predefined procedures prevent workers from making uncertain decisions under schedule pressure and stop suspect material from moving across the floor.
- 1DetectIdentify out-of-tolerance dimensions using a dedicated gauge, conduct a visual inspection, or take action when you notice an abnormal physical change during the cycle.
- 2StopNever run additional pieces to check if the error repeats. Hold the cycle and pull the andon cord.
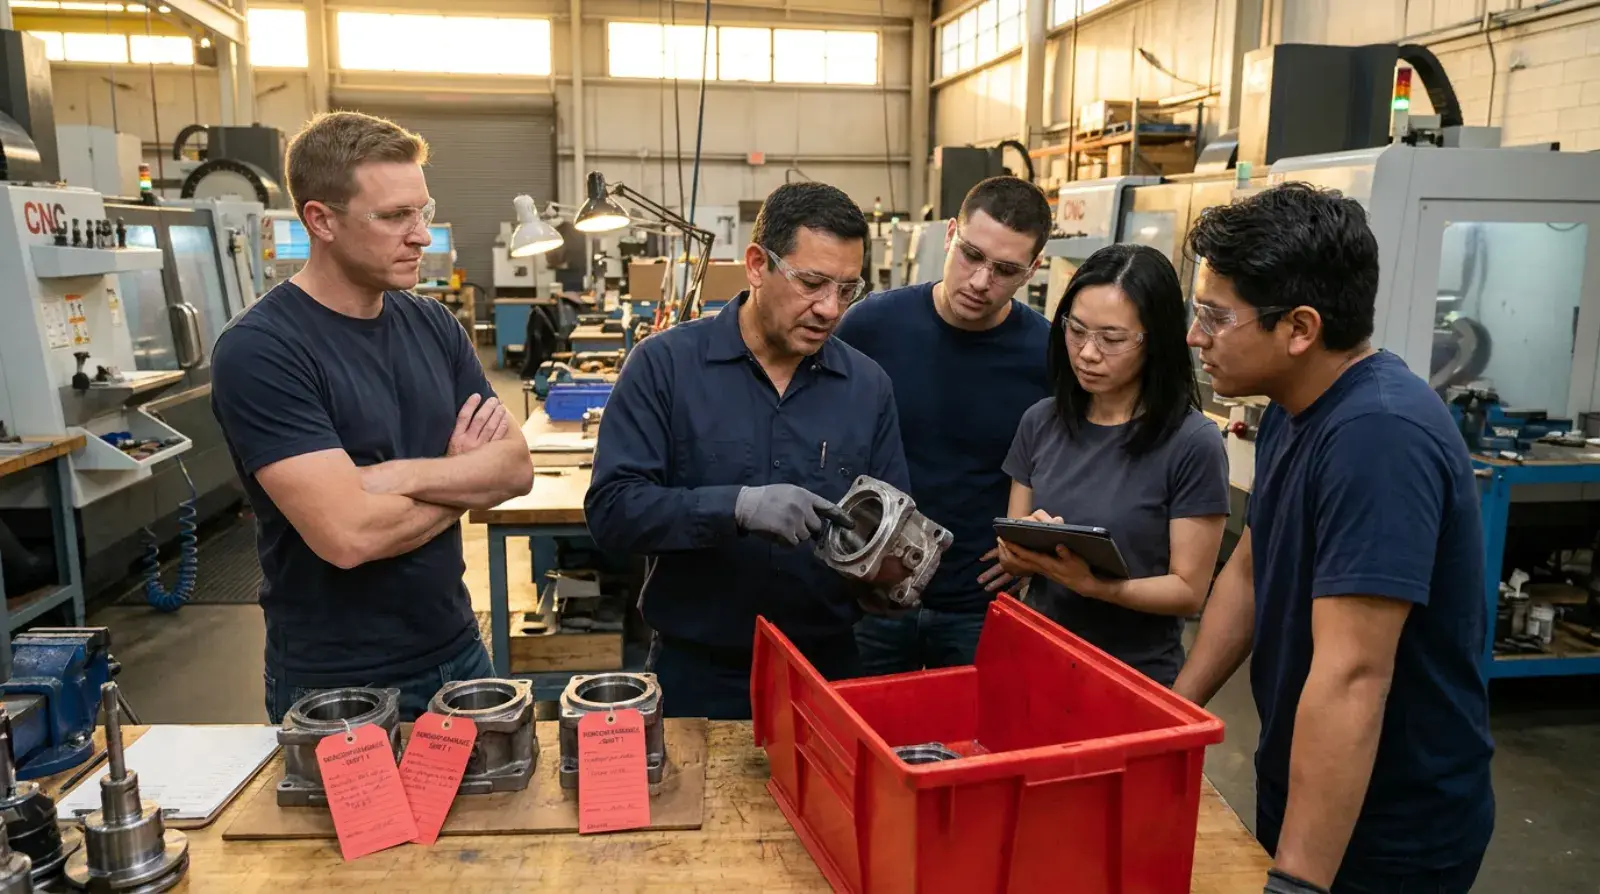
- 3ContainMove suspect parts to the red bin with tags. Pull back every unit made since the previous good verification.
- 4InvestigateReview the station with your team leader. Recheck the measurements, isolate what condition changed, and correct it before starting.
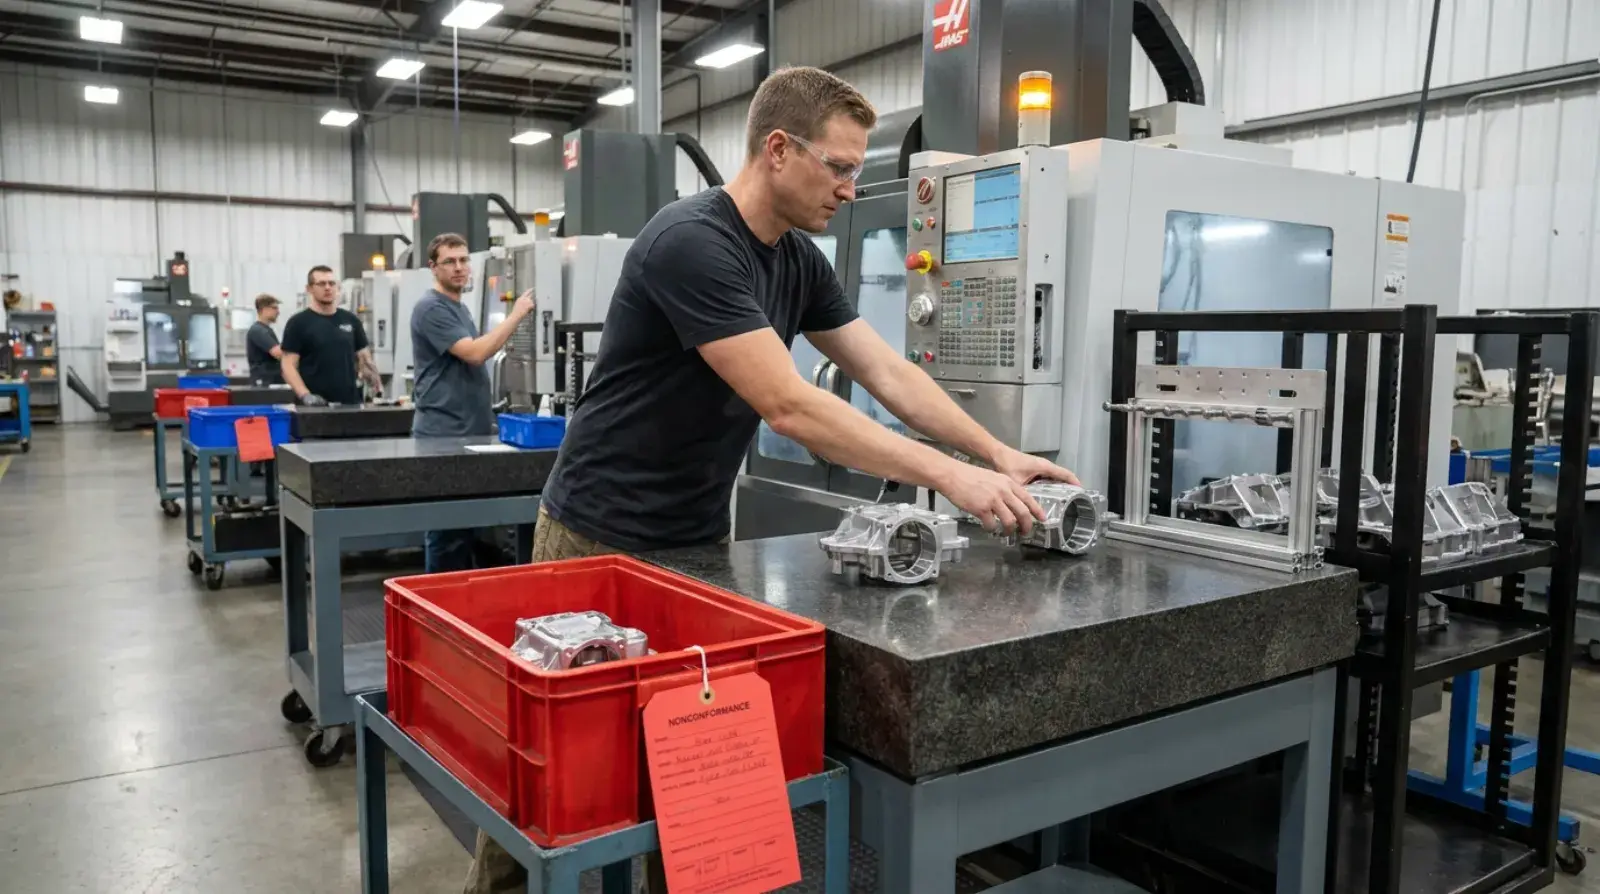
Five critical station documents
Workstations require unambiguous visual documentation posted right at the process. These five standardized forms guide regular operator checks, define containment boundaries, record defect details, and prevent unverified setups from running production.
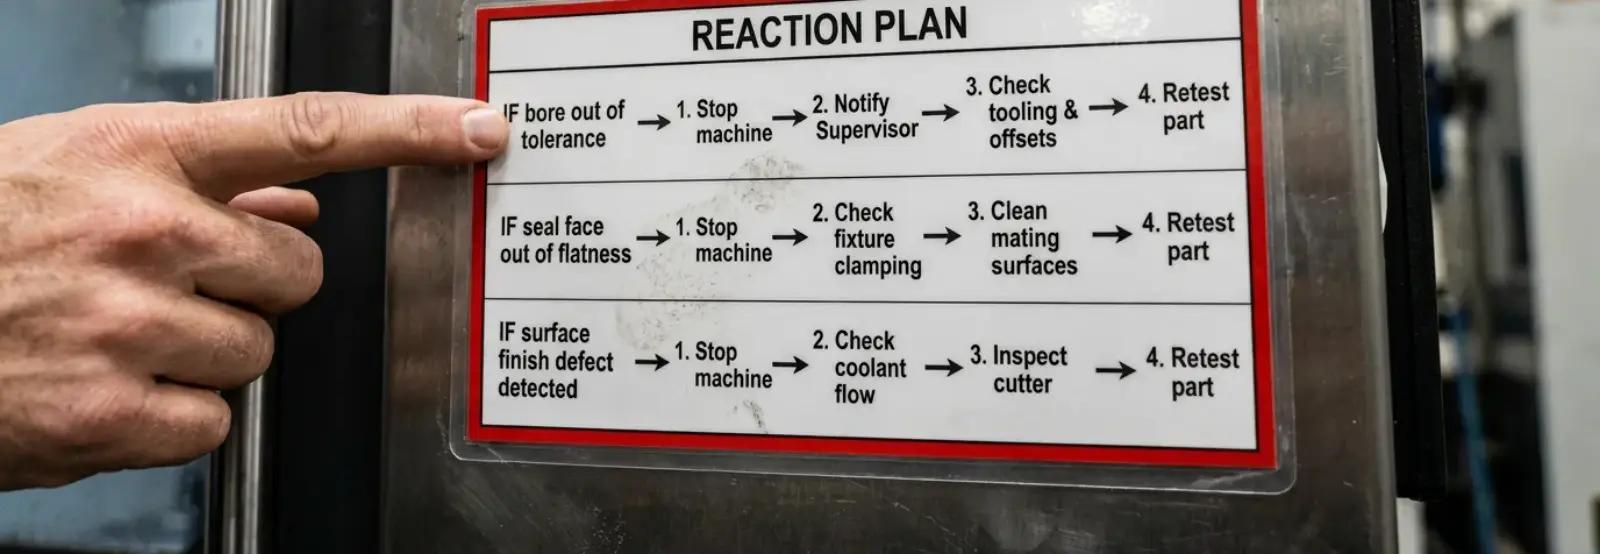
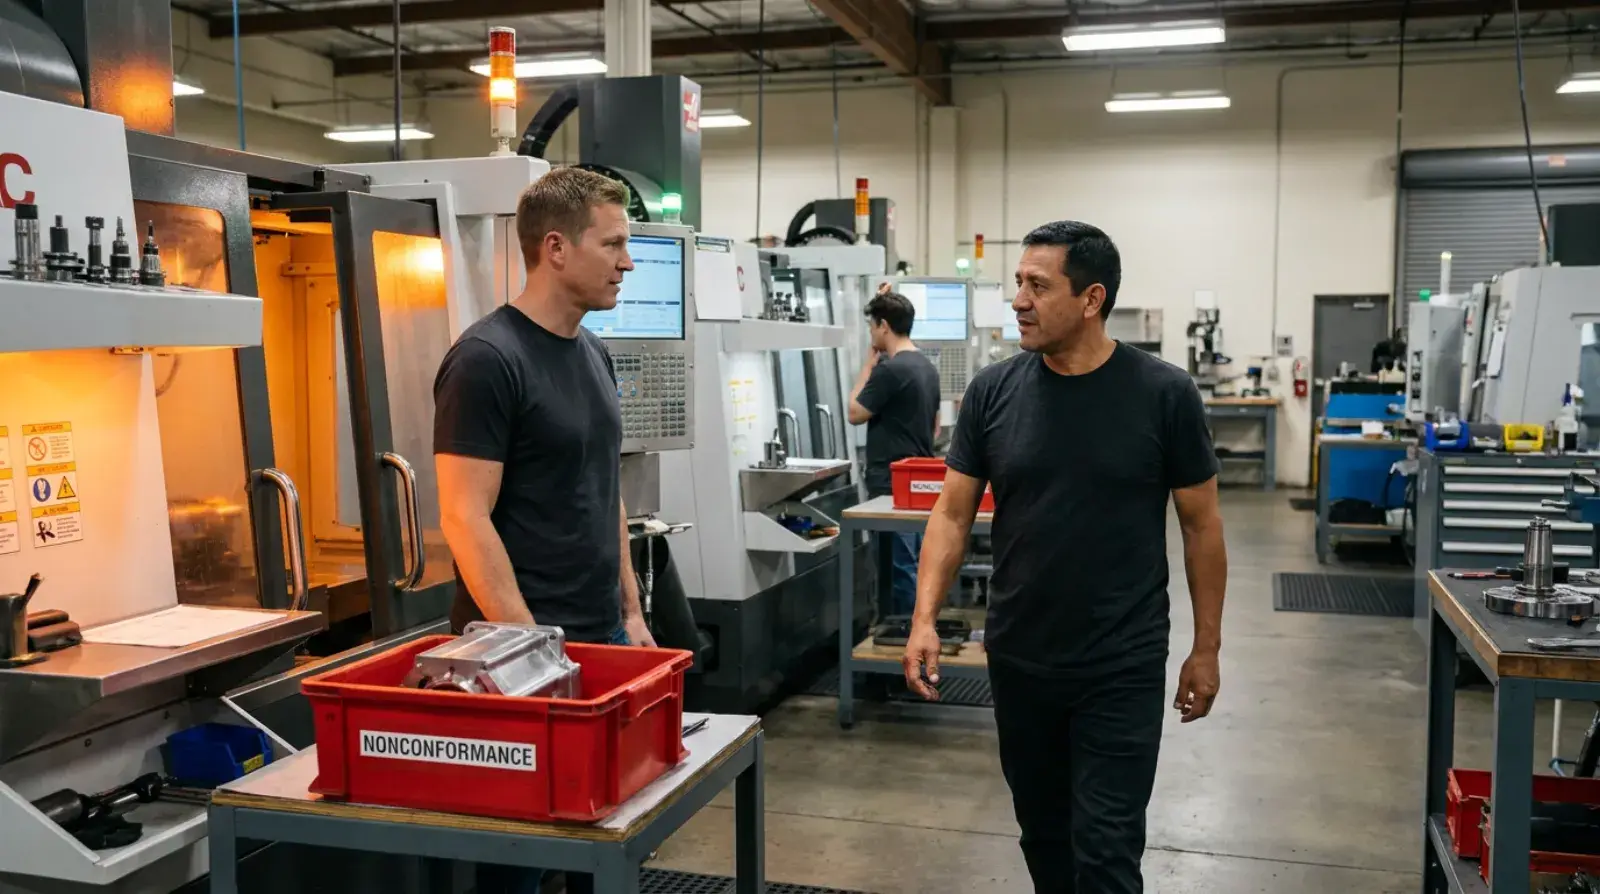
Stopping the line without fear
Even after training, operators often hesitate to stop a line. Workers worry about missing shift targets, triggering an andon signal visible to the entire plant, pulling leaders and quality engineers away from other duties, or facing personal blame. Such hesitations are understandable on floors where supervision measures solely by volume. Instruction by itself will not alter operator reactions because leadership habits set the tone.
When responding to an andon call, leaders must express appreciation for the stop before asking technical questions. During daily startup huddles, review caught defects before output totals. This visible habit shows that catching errors protects the whole shop.
Red bin review
At the close of each shift, the team inspects every tagged part collected in the red bin. They search for recurring patterns across dimensions, machines, or tool life milestones. What they discover leads directly to revised control plans, improved tooling intervals, or physical fixture changes.
Three levels of quality prevention
Manufacturing operations improve quality by progressing through three operational levels. The objective is to move away from expensive downstream sorting and advance toward station designs that make defects physically impossible to produce.
When a specific defect surfaces repeatedly during shift red bin reviews, do not settle for more gauge checks. Advance the countermeasure toward true error-proofing so machines refuse nonconforming parts.
See how to design error-proofing with our poka-yoke guideCommon failure modes to avoid
When plants adopt quality at the source, four breakdown patterns appear repeatedly. Watch for these traps and install specific countermeasures before bad habits take root.
Operators fill out check sheets from memory at shift end rather than logging points as parts finish. Process drift remains unseen until defects occur. Plot readings as you take each measurement, using a control chart to see drift before dimensions cross limits.
control chart toolFocusing solely on gross output makes line stops feel like losses. Operators run suspect parts to protect numbers. Track good parts instead. Review caught defects first at daily huddles and thank operators who stop the line to correct an issue.
The nonconformance bin fills during the week while nobody examines its contents. Valuable defect patterns stay hidden. Inspect every tagged part at the end of each shift. Rank defect counts with a Pareto chart to prioritize where engineering changes are needed most.
Pareto chart toolA reaction plan that tells the operator only to notify the supervisor delays action. Operators guess at causes while parts wait. List likely failure modes along with ordered diagnostic checks directly on the card, drawing details directly from your station FMEA.
FMEA tool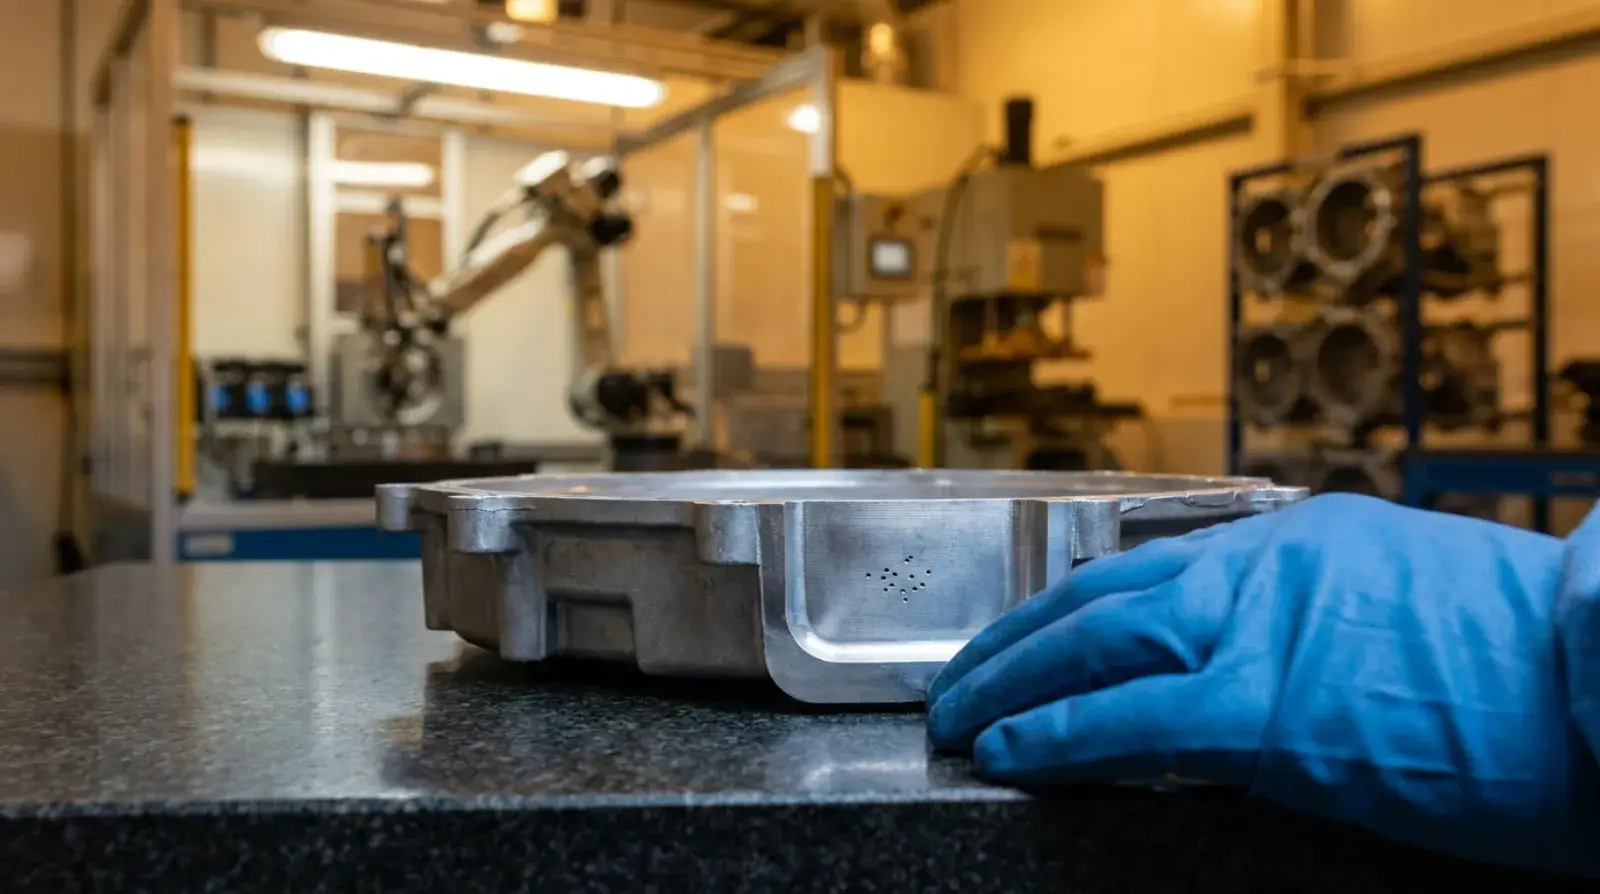
Inside a custom course for machining operators
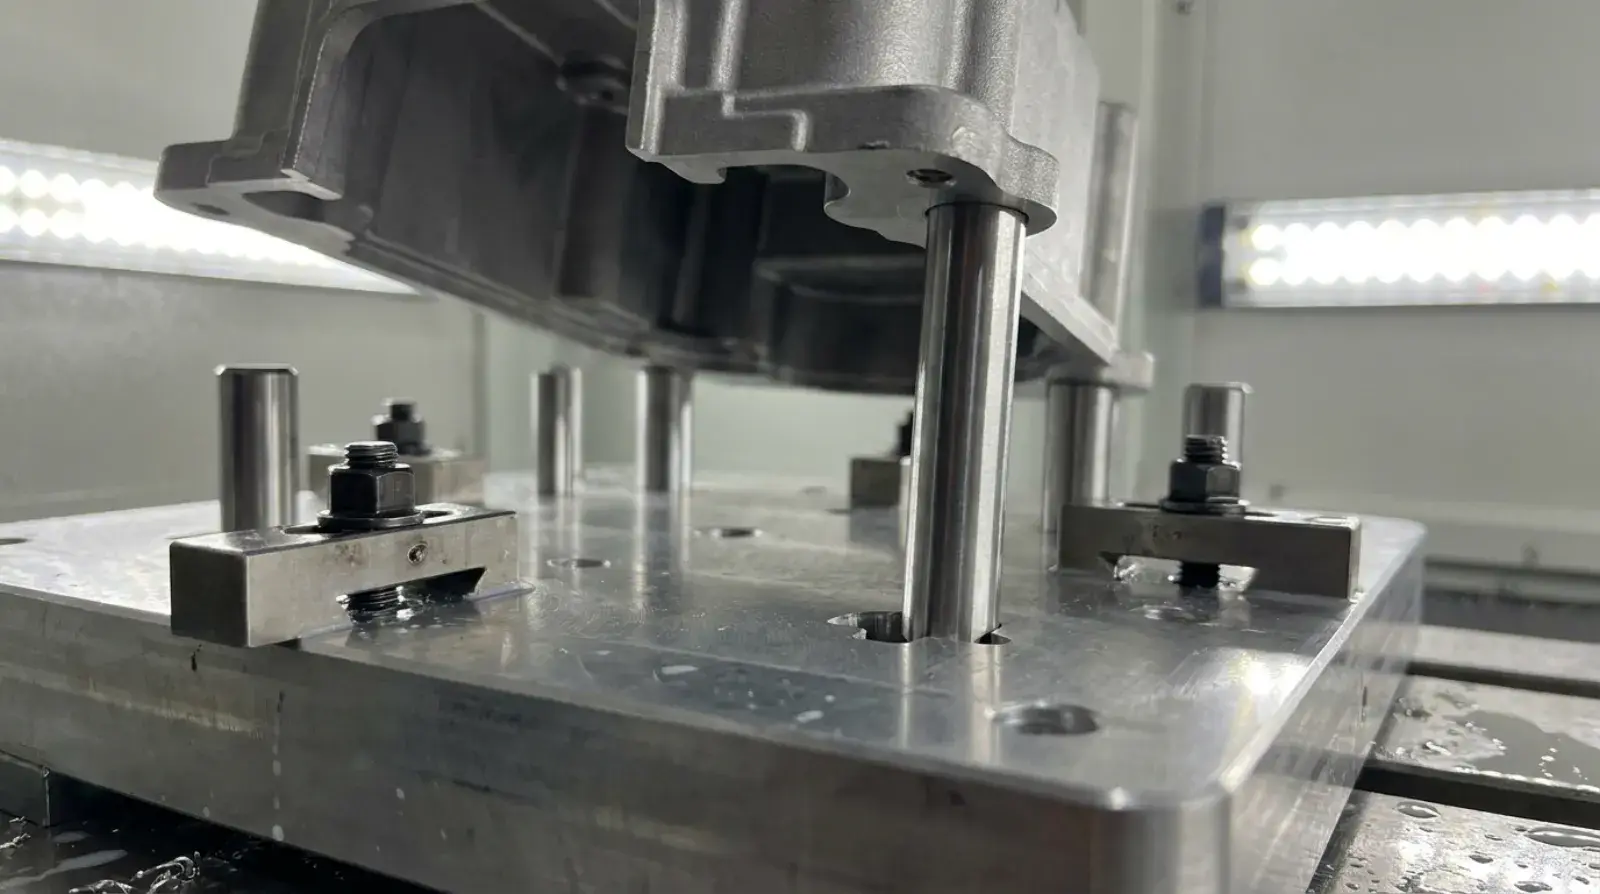
A manufacturer producing CNC machined die casts worked with Kaizumi to train team members. The course spans 8 lessons across 18 minutes. It was generated entirely from the site parts, station processes, and past defects without camera crews on the floor.
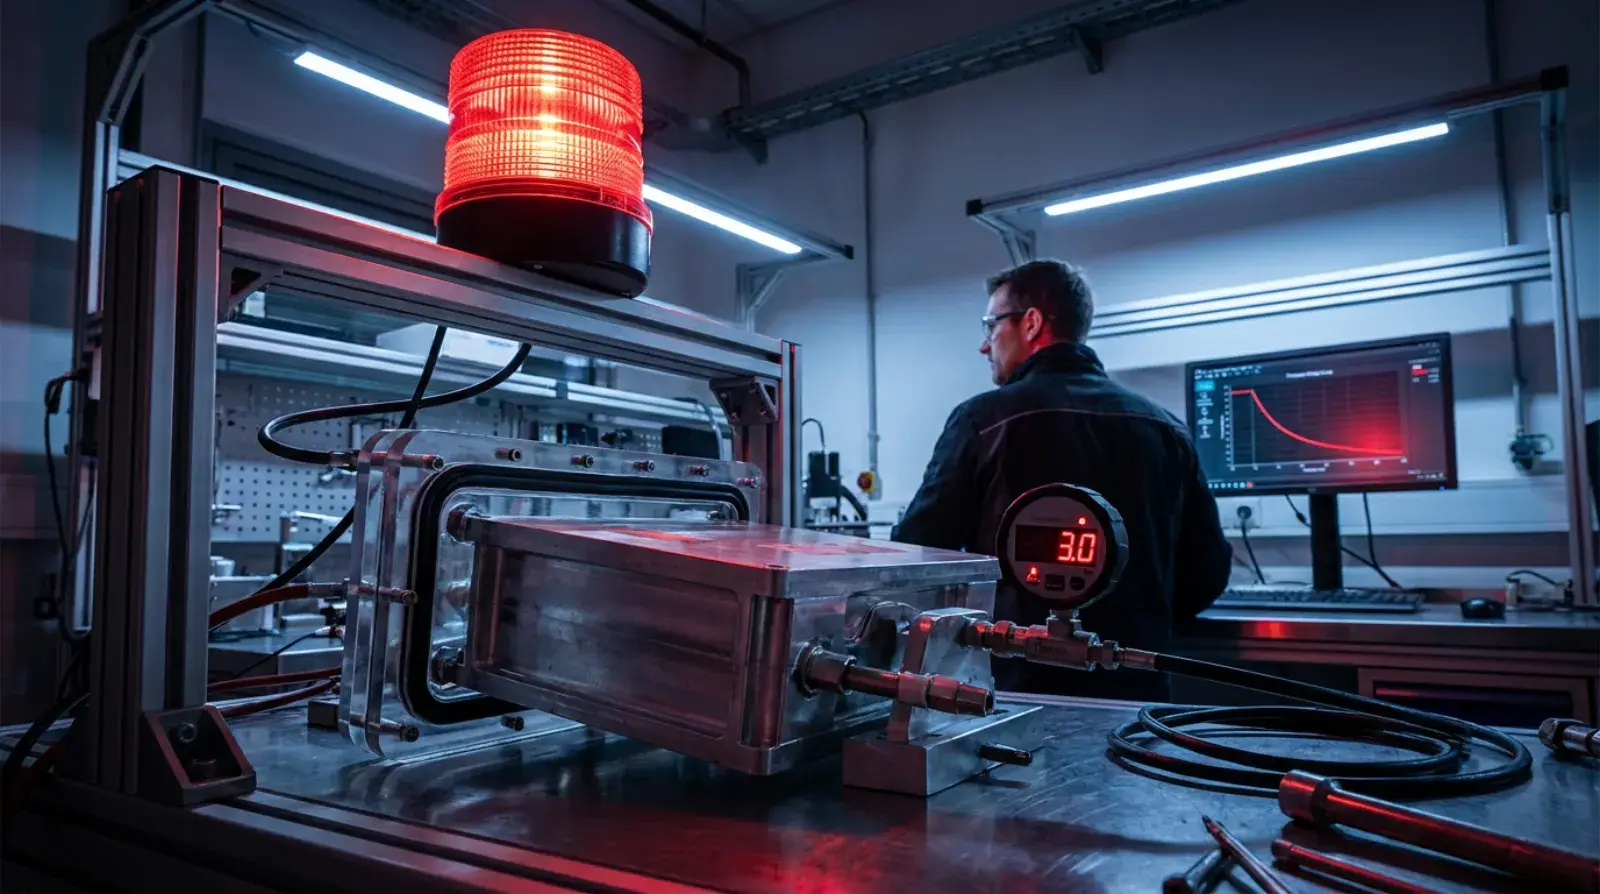
The course opens by following one defect on an inverter housing: hidden porosity under a seal face. Catching that flaw at die-casting costs $0.35 to remelt. If it passes into machining, consumed cycle time, tooling, and labor lift the lost cost to $28. If caught later at helium leak testing, that single defect represents $185. If it escapes to the customer, warranty claims run $7,500 or more.
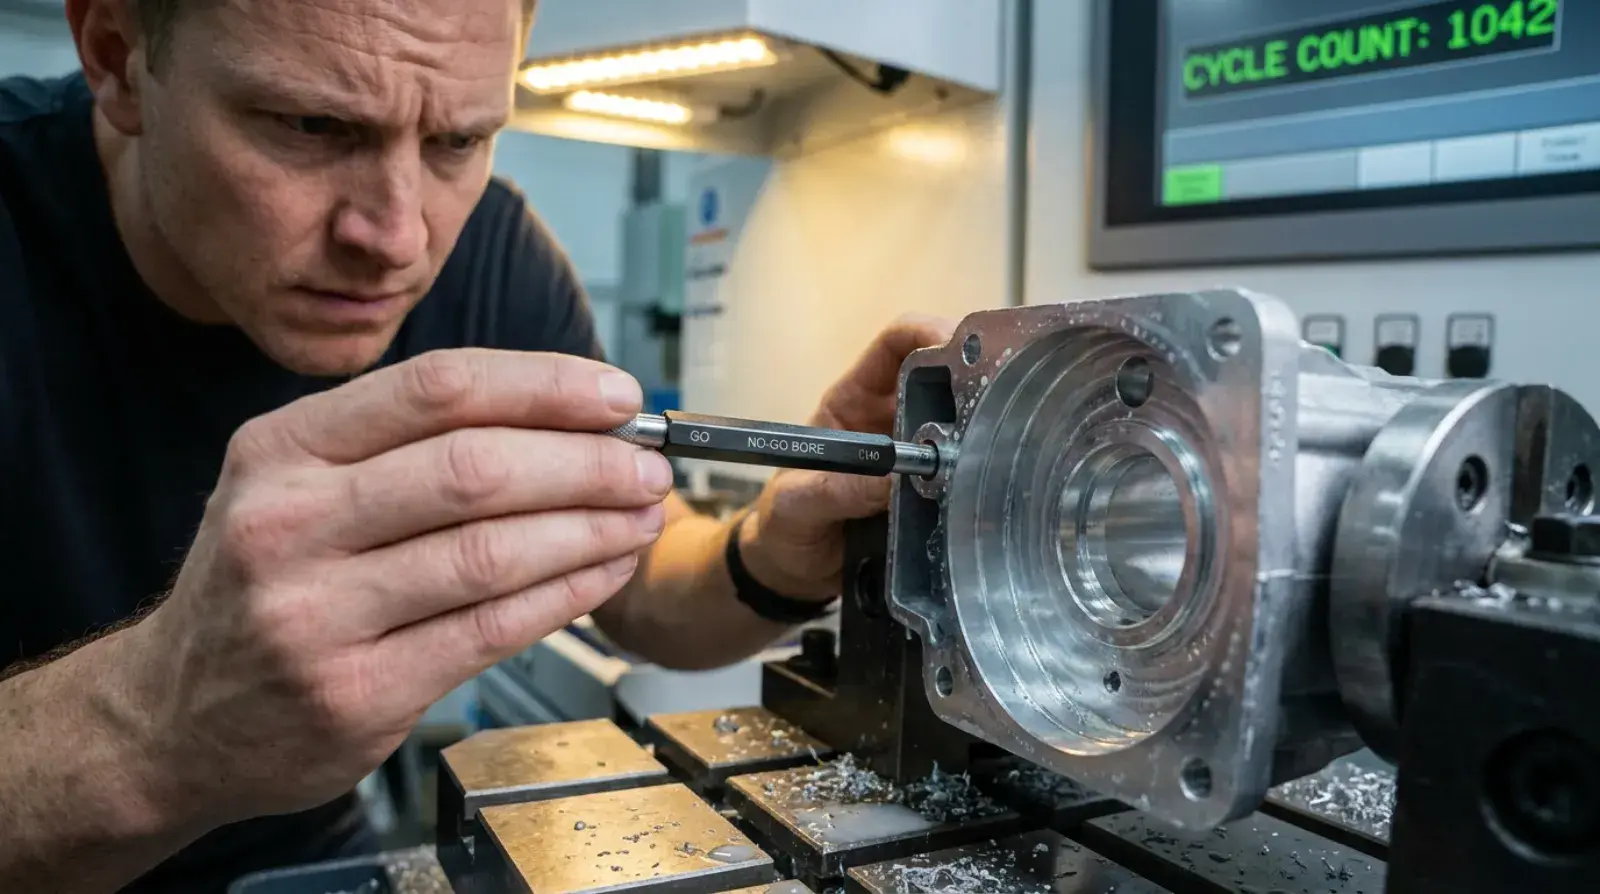
In a later lesson, Ben inspects every 10th coolant bore. When the no-go gauge enters the hole, Ben stops the spindle, pulls the andon, attaches a red tag, and gathers parts made since his prior check. Mei arrives, finds the bore 13 microns oversize, and spots a chipped insert. Seven minutes separate detection from finding the cause.
Ben hesitates before calling for help, worried about shift output. Tomás, his cell leader, arrives and thanks him first for stopping production. At shift end, a red bin review reveals 3 oversize bores occurring past 200 cycles on that tool. The team cuts the insert change interval from 300 cycles to 180 and posts a quality alert.
The course player groups the 8 generated lessons into numbered parts, walking operators through real inspection points, containment steps, and shift reviews.
Part 1
Part 2
Part 3
Part 4
Get a free quality at the source course tailored to your company.
Your first week plan
- 1Audit station documentsSelect one active workstation. Verify that the control plan and reaction plan match actual part features and gauges.
- 2Trace a recent defectTake the last scrap part caught at end-of-line verification and trace it back to the originating station.
- 3Draft reaction stepsIdentify the most frequent defect at that originating station and write out clear, step-by-step reaction instructions for operators.
- 4Hold red bin reviewsReview tagged parts at shift change every day for one week. Record recurring part trends with the team.
Free quality at the source module for your plant
Kaizumi writes a quality at the source module from your website. Enter your work email below to receive it.
Frequently asked questions
- What is quality at the source in manufacturing?
- Quality at the source is an operational method where workers verify the quality of their own output before passing parts down the line. Instead of relying on downstream inspectors, the person at the machine catches nonconformances immediately, stopping defective material before additional labor, machining cycles, and assembly expenses accumulate.
- How does quality at the source differ from quality control?
- Quality control inspects finished parts at the end of the line to separate good production from bad scrap. Quality at the source places inspection points directly at each manufacturing step. Workers catch variations before parts move, cutting scrap expense while quality control confirms system compliance.
- What are the three main types of inspection?
- The three inspection methods are self-inspection, successive inspection, and source inspection. Self-inspection occurs when an operator checks their own work immediately. Successive inspection happens when the next worker verifies incoming material. Source inspection checks production conditions like tool wear and clamping before making the part.
- How does quality at the source connect to jidoka?
- Quality at the source directly reflects jidoka, the lean pillar of automation with a human touch. Originating with the 1924 Toyoda loom that stopped on a broken thread, jidoka requires stopping equipment the moment an abnormality occurs to prevent making defective goods.
- How do you get operators to stop the line?
- Operators stop the line when leaders remove fear. Supervisors must thank operators for pausing production before asking technical questions. Highlight caught defects during daily shift huddles, and treat line stops as opportunities to improve tooling rather than blaming workers for lost cycle time.
Lean concepts
Implementation guides
Shop floor tools
Sources
- Shigeo Shingo, Zero Quality Control: Source Inspection and the Poka-yoke System (Productivity Press, 1986)
- Taiichi Ohno, Toyota Production System: Beyond Large-Scale Production
- Lean Enterprise Institute, Lean Lexicon: jidoka
- AIAG, Control Plan reference manual
Founder of Kaizumi, an AI-powered Lean training platform. More about Matthew →
Updated September 2026 · Written by Matt Savas. The plant example describes an actual anonymous Kaizumi training course built for a discrete manufacturer. Operational methods follow standard lean manufacturing practice.