
A fishbone diagram (a.k.a. an Ishikawa diagram) is a one-page picture that pushes a team to list every plausible cause of a problem before jumping to a fix — sorted into a handful of categories so nothing gets missed. In a restaurant it's the fastest way to turn "the tacos keep coming out wrong" from a blame match into a root-cause hunt. This guide gives you kitchen-ready cause categories, a worked example on a taco line at lunch rush, and the 5-Whys drill that gets you past the symptom. You'll finish able to run a 20-minute fishbone with your crew this week.
Why a fishbone diagram is different in a restaurant
The fishbone was built for a factory, and the textbook categories — the "6 M's" (Manpower, Method, Machine, Material, Measurement, Mother Nature) — sound strange shouted across a hot line. A kitchen also breaks two assumptions the factory version quietly makes:
- The "machine" is partly human, and the rush is the real variable. A press stamps the same part at 9 a.m. and 9 p.m. A line cook on a slammed Friday is not the same as a calm Tuesday. Many restaurant problems only appear under volume, so "lunch rush" belongs on the diagram as a condition, not an excuse.
- Ingredients drift far more than parts do. Steel varies by lot; food varies by the hour. Guacamole browns, tortillas dry out, a new produce supplier slips in smaller avocados. "Material" in a kitchen is alive and changing, so it earns its own bone and a hard look.
- It's tempting to put a person's name on the diagram. The single most common restaurant misuse: the fishbone becomes a quiet way to pin the problem on the new hire. Real root-cause asks why the process let that happen — no training standard, no firing sequence, no check before the plate leaves.
So the goal isn't to find someone to blame — it's to fix the process, not the person. That's also the only way the tool works: the cook living the problem has to feel safe telling you what's really going wrong, and a diagram that points fingers shuts that down.
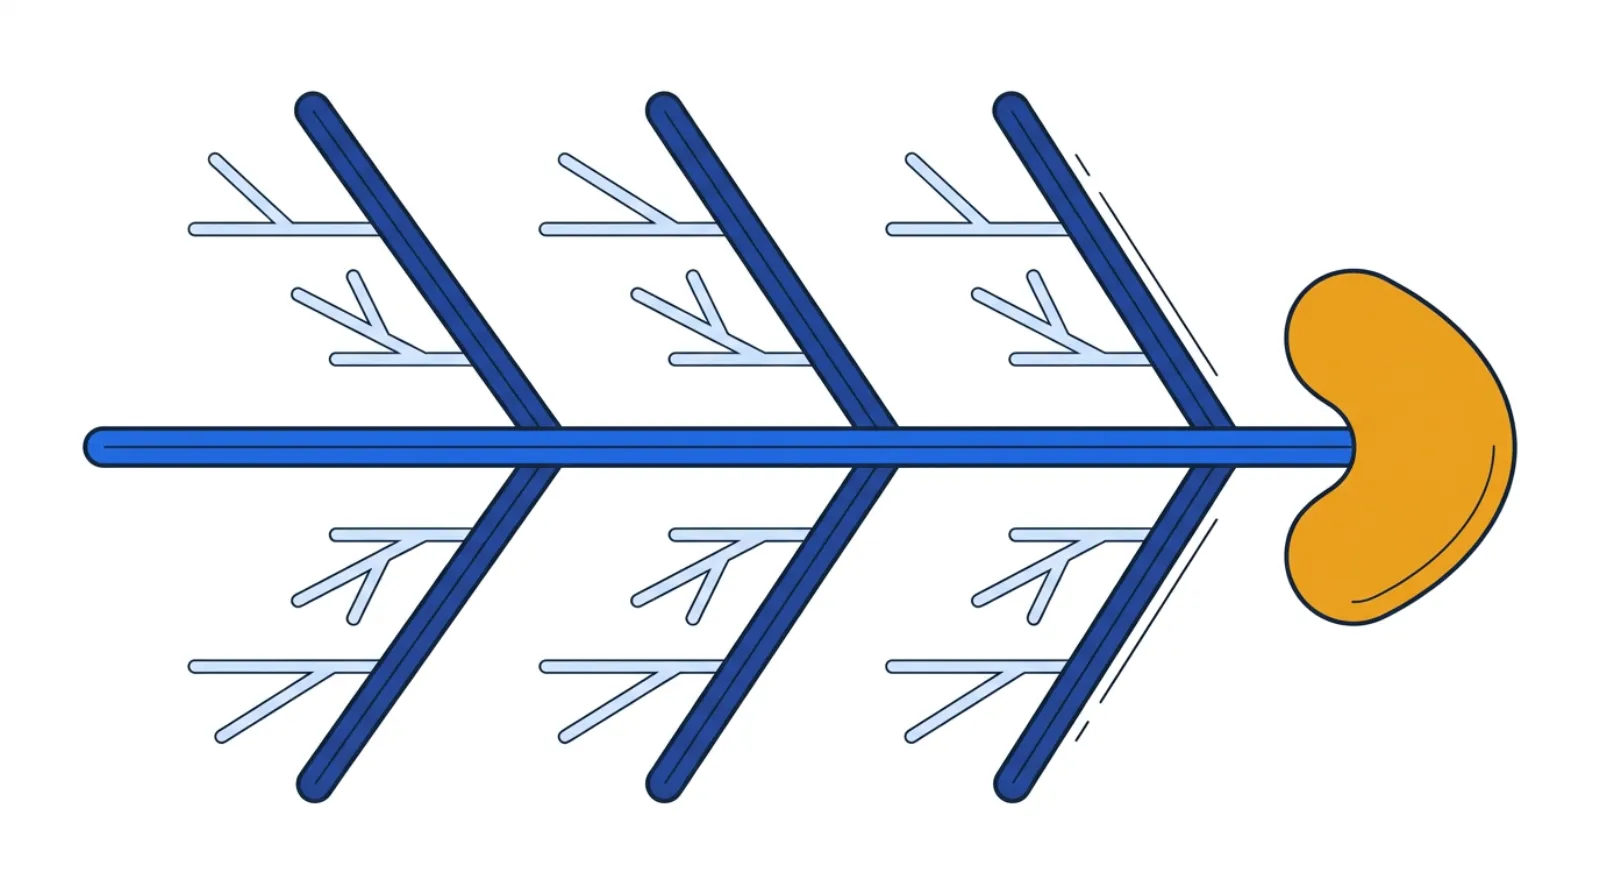 The shape forces a complete search: every bone is a category you have to fill before you decide.
The one-line test for an honest fishbone: before you walked in, could any bone have been the cause? If you already "knew" it was the new cook, you're assigning blame, not finding the root.
Try sorting a few real causes onto the bones before you read the worked example:
The bones, translated for a restaurant line
Keep five categories — they map cleanly from the factory 6 M's, and a line crew can actually use them. (The sixth M, Measurement — are portions weighed, holding temps checked, remakes counted? — usually shows up in a small kitchen as a missing check, so we fold it into Process and Equipment rather than give it its own bone.) Write the problem in the fish's head, then fill every bone before you judge any of them.
1People — training, staffing, and who's on the line
Skill mix, cross-training, how many hands during the rush, whether the new hire was ever shown the standard. Note conditions, not names: "station run by someone trained yesterday," not "Marcus messed up."
2Process — the order of operations
The firing sequence, how tickets are called, and whether there's an expo check — someone at the pass eyeballing every plate against its ticket before it goes out. A lot of what looks like a "people" problem lives here: the process makes the right move hard to repeat — a handoff with no check, a step that's easy to drop when it's slammed — so even a good cook gets it wrong. Look for what gets in the way of doing it right every time.
3Equipment — griddle, warmer, fryer, rail
Griddle temp drift, a warmer that runs cold, a ticket rail mounted too far from the line. Equipment that mostly works is the sneakiest cause, because it fails only under load.
4Ingredients — prep, portioning, freshness
Browning guac, tortillas drying on the rail, a portion scoop nobody uses, a supplier swap. This is the "material" bone, and in a kitchen it moves constantly.
5Environment — layout, heat, noise, and the rush
A cramped line, deafening noise that garbles called tickets, the sheer pressure of a 12:15 wall of orders. The environment is where the other four bones get amplified.
How to run your first fishbone (step-by-step)
Twenty minutes, the crew who works the line, and a whiteboard or the free fishbone tool.
- Write a sharp problem statement. Not "tacos are bad" — make it specific and measurable: "About 1 in 10 lunch-rush orders is remade or sent back." That goes in the fish's head.
- Draw the five bones. People, Process, Equipment, Ingredients, Environment.
- Brainstorm causes onto each bone — with the crew. Ask the line cooks and the expo, not just the manager. Put every plausible cause up, no debate yet.
- Drill the big ones with 5-Whys. For each leading cause, ask "why?" until you reach a root you can design out — not one you'd have to police. "Tacos cold" → why? warmer's empty → why? nobody refilled it → why? no one noticed until it ran out → why? nothing signals it's low. The root isn't "tell someone to watch it" — it's that the warmer needs an obvious low-level signal (a fill-line, a light) so anyone catches it first.
- Verify at the gemba. Go watch the lunch rush. A fishbone is a list of hypotheses; the line tells you which are real. Cross off the ones that don't hold up.
- Pick countermeasures and close the loop. Countermeasures are fixes you'll test, not just declare. Attack the verified roots — a mistake-proofed portion scoop, a firing-sequence standard, a warmer-restock owner — then run a PDCA loop (try the fix, check the remake count, adjust, repeat) to confirm the remakes actually drop.
A focused session like this is a kaizen in miniature — and you repeat it on the next problem.
A worked example: the lunch-rush taco line
A taco shop is getting too many remade orders between 12 and 1. The crew writes the problem in the head — "~1 in 10 lunch-rush orders remade or sent back" — and fills the bones. The causes are an honest hypothetical; the shape is what a real session produces.
| Bone | Causes the crew surfaced |
|---|---|
| People | Fryer station run by a cook trained two days ago; no cross-training when someone steps off |
| Process | Tickets called verbally and lost in the noise; no expo check before plates leave the pass |
| Equipment | Tortilla warmer runs cold by 12:30; griddle temp drifts under back-to-back orders |
| Ingredients | Guac prepped at 9 a.m. browns by noon; protein portioned by eye, not scooped |
| Environment | Line cramped at the rail; rush noise drowns out called tickets |
Two causes keep showing up: tickets lost in the noise and the warmer running cold. Drill the warmer with 5-Whys: tacos go out cold → why? the warmer's empty by 12:30 → why? nobody refilled it mid-rush → why? no one noticed it was low until it ran out → why? nothing tells you it's running down. Root: the warmer gives no early signal, so it's only ever caught after it's already failed.
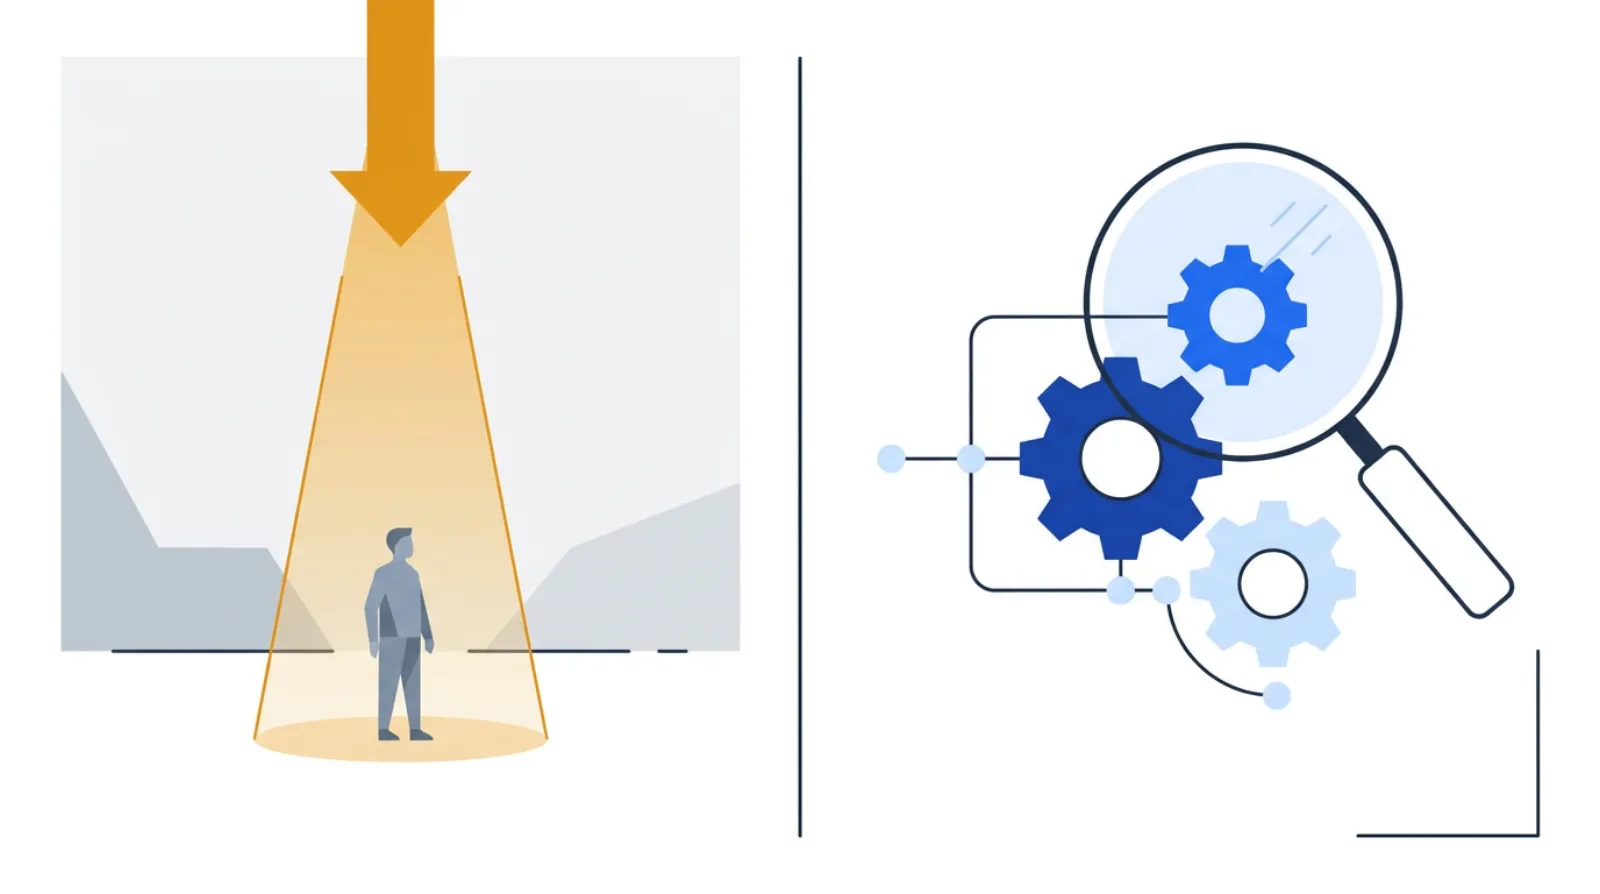 The whole point of the diagram: move the spotlight off the person and onto the process.
Notice the root isn't "the new cook" — and the fix isn't "assign someone to watch the warmer," which just trades one thing to forget for another. The strongest countermeasures make the problem obvious or impossible: a bright fill-line on the warmer so anyone passing sees it dropping before it goes cold, an expo check at the pass, and a portion scoop so protein stops varying. Make the right thing easy and the wrong thing visible — don't rely on anyone remembering. (A quick written standard keeps the new way in place after the kaizen.) You'd confirm with a PDCA loop over the next week, not declare victory on the whiteboard. The remakes drop because the process got easier to do right, not because anyone was told to try harder.
Build your own on the same canvas the pros use — drop the problem in the head and fill the bones:
A quick fishbone facilitation checklist
A fishbone fails on facilitation more than on theory. Before and during the session:
- Is the problem statement specific and measurable? Vague heads grow vague bones.
- Are the people who do the work in the room? The cook knows causes the office can't see.
- Did every bone get filled before anyone argued? Premature debate kills causes you needed.
- Did you 5-Whys the leading causes, or stop at the first plausible one?
- Did you verify at the gemba before committing to a fix?
- Are the worst causes prioritized? A quick Pareto — rank the remake reasons by how often each happens, then fix the top one or two first — beats fixing whatever's loudest.
Common restaurant fishbone mistakes
- Stopping at the symptom. "Tacos are cold" is a symptom. Without 5-Whys you'll buy a new warmer and still run cold by 12:30.
- Putting names on bones. The moment the diagram blames a person, the crew stops telling you the truth. Cause categories describe the process, not the people.
- Filling one bone and quitting. If "People" has nine causes and the other bones have one each, you stopped searching — you didn't run a fishbone.
- Skipping the gemba. A whiteboard full of guesses isn't root cause until the lunch rush confirms which guesses are real.
- No countermeasure, no follow-up. A beautiful diagram with no owned fix and no PDCA check is decoration. End every session with who-does-what-by-when.
Templates & tools
- Free fishbone diagram tool — drop in your problem, fill the bones, and share the diagram. No login required.
- 5-Whys — the drill that turns a cause on the bone into a root you can fix.
- Pareto chart — when you have a stack of remake reasons, find the vital few worth fixing first.
FAQ
What is a fishbone diagram in a restaurant? It's a cause-and-effect diagram that maps every plausible cause of a restaurant problem — like remade orders or slow tickets — onto a few categories (People, Process, Equipment, Ingredients, Environment) so the team finds the root instead of guessing. It's also called an Ishikawa diagram.
What are the categories (bones) for a restaurant fishbone? A kitchen-friendly set is People, Process, Equipment, Ingredients, and Environment, adapted from the classic manufacturing "6 M's." The exact labels matter less than filling every category before you judge any of them.
What problems should a restaurant use a fishbone for? Recurring, fuzzy ones with many possible causes: remade or wrong orders, slow lunch-rush tickets, inconsistent portions, high food waste, or repeat complaints. For a simple one-cause problem, plain 5-Whys is faster.
Fishbone or 5-Whys — which do I use? Use them together. The fishbone spreads out all the candidate causes; 5-Whys drills the leading ones down to a root you can change. Fishbone is the map; 5-Whys is the dig.
How long does a restaurant fishbone take? About 20 minutes with the crew on the whiteboard, plus a lunch-rush gemba walk to verify the leading causes before you commit to a fix.
Related concepts & guides
- Dictionary: Fishbone Diagram · Ishikawa Diagram · Root-Cause Analysis · 5-Whys · Pareto Chart · Gemba Walk · PDCA
- Guides: How to Use Takt Time in Manufacturing · How to Run a Value Stream Map in Insurance
Sources
- American Society for Quality, Fishbone (Cause-and-Effect / Ishikawa) Diagram
- Ishikawa, K., Guide to Quality Control