
A fishbone diagram in manufacturing sorts the possible causes of one measurable problem — a recurring defect, a scrap spike, a chronic unplanned stop — into the classic 6 Ms: Man (the people doing the work — many teams now write "People"), Machine, Method, Material, Measurement, and Mother Nature (environment). The diagram doesn't solve anything by itself; it's a structured place to put every hunch so the team stops arguing and starts testing. The real work happens after the bones are full: you pick the most likely branch and drill it with 5 Whys until you hit a cause you can design out — a sensor, a fixture, a poka-yoke — not a person to blame. This guide walks the 6 Ms on a real line, shows how to run the session, and works a full example from a defect down to a mistake-proofing fix. You'll finish able to facilitate one fishbone this week without it collapsing into "operator error."
Why a fishbone diagram is different in manufacturing
Most fishbone tutorials use a generic "low customer satisfaction" head and fill the bones with vague business causes. On a production line the method gets sharper and more useful — and a copy-pasted office version falls apart fast. A few things make manufacturing the place where the fishbone earns its keep:
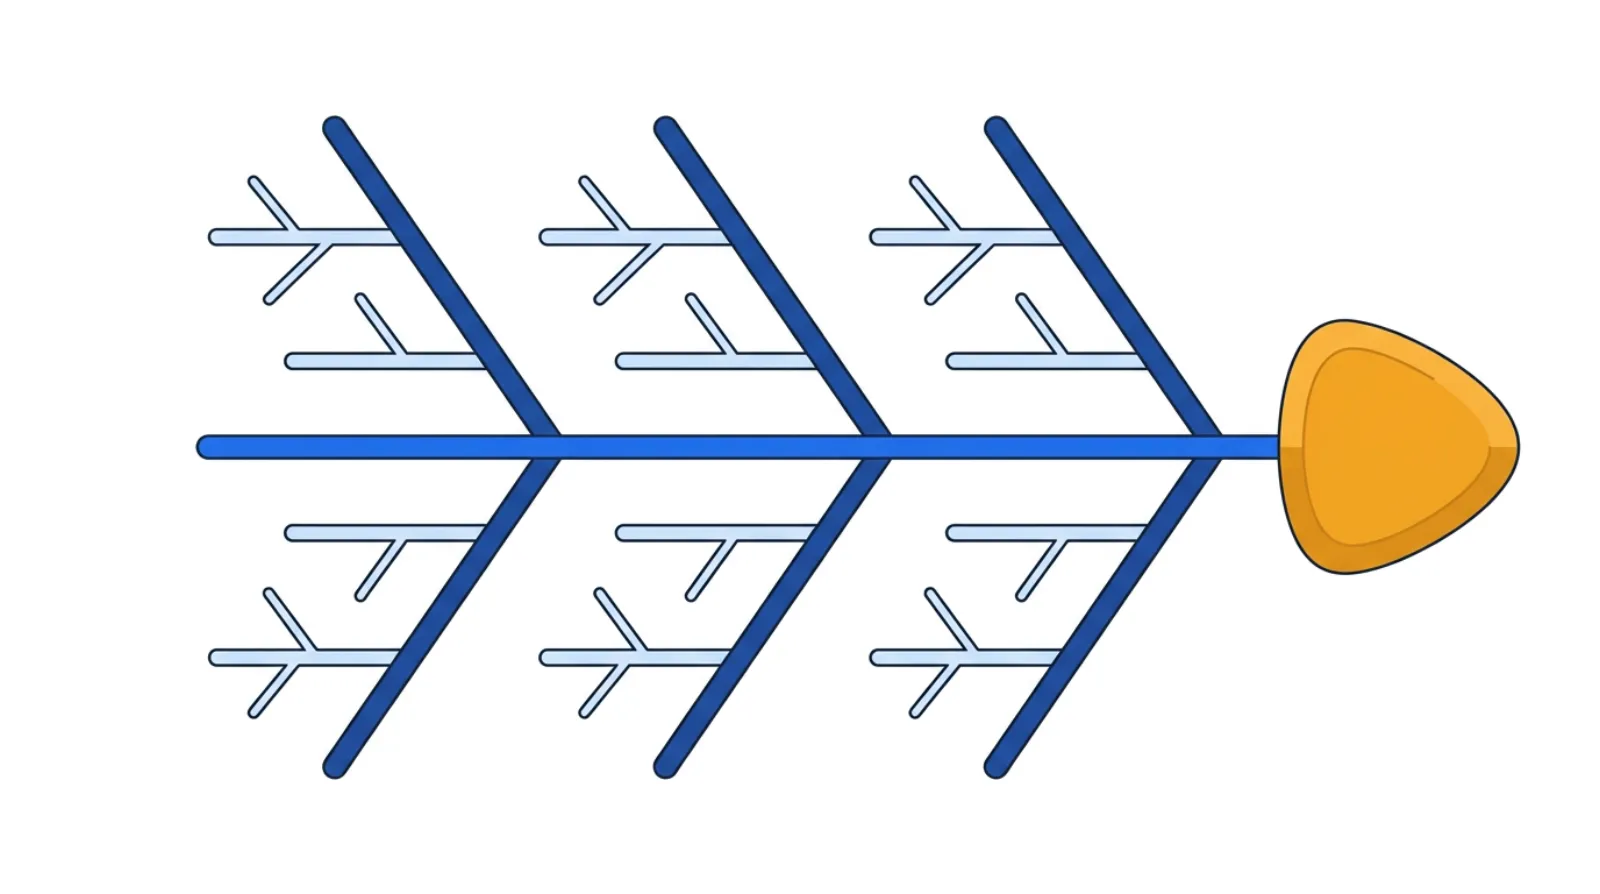 The 6-M skeleton: six categories of cause feeding one measurable effect.
- The effect has to be measurable, not a feeling. "Quality is bad" can't be drilled. "Burr on the left flange, 4% of parts on Line 2, day shift" can. A manufacturing fishbone starts from a number you can see move — a defect rate, a scrap count, minutes of unplanned downtime — so you'll know whether the fix worked.
- The 6 Ms map cleanly onto a real line. Man (the operator and how the work is set up for them), Machine (the equipment, fixtures, tooling), Method (the standard work and sequence), Material (incoming parts and consumables), Measurement (gauges, the inspection method, calibration), and Mother Nature (temperature, humidity, vibration, dust). Each is a place a physical defect can actually originate.
- "Man" is a trap, not an answer. The single biggest failure mode of a manufacturing fishbone is letting the Man bone become a dumping ground — "operator didn't follow the procedure," "lack of attention." The Toyota lens is to build quality in at the source. If a tired person on a bad night can produce the defect, the process let them. The honest root almost always sits behind the human on a Machine, Method, or Measurement bone.
- You can design the root out. Unlike a service process, a line defect usually traces to something physical and fixable — a missing locating pin, a gauge that drifted, a tote that lets two part variants mix. That's a poka-yoke (a mistake-proofing device that makes the wrong action physically impossible) or a jidoka stop (a machine that halts itself the moment it senses a defect) waiting to be built, not a memo asking people to try harder.
So the goal isn't a tidy diagram on the wall. Efficiency is the consequence, not the goal. You're after the one root cause that, once engineered away, makes the defect physically hard to create again — and a safer, easier job as a side effect.
The one-line test for every cause you write on a bone: could a careful, well-trained person still produce this defect? If yes, you haven't reached the root — keep drilling, because the cause is in the process, not the person.
The 6 Ms, translated for a production line
The fishbone isn't a numbered method like 5S — it's a thinking frame. But filling the bones well is a craft, and skipping a category is how teams miss the obvious. Here's what each of the 6 Ms actually means on the floor, and the questions that pull real causes out of it.
1Man — the operator, and how the work is set up for them — respect for people: look for the trap, not the blame
Ask what about the job makes the error possible: ambiguous work instructions, a left-hand/right-hand reach that invites a wrong move, inadequate training, a handoff with no check. The rule on this bone is strict — every cause you write has to survive the one-line test above. "Operator skipped a step" is not a root cause; "the correct and incorrect parts look identical and sit in adjacent bins" is. The person is where the defect appeared, not where it came from.
2Machine — equipment, fixtures, and tooling — the silent drift
Worn tooling, a loose or missing locating pin, a fixture that no longer holds position, hydraulic pressure creeping out of band, a die past its sharpening interval. Machine causes are insidious because they drift slowly — the part is fine until it isn't, and the same operator on the same procedure suddenly makes scrap. Tie suspected machine causes to maintenance and changeover records; a defect that started right after a tool change is telling you something.
3Method — the standard work and sequence — is there even a standard to follow?
The method bone asks whether the agreed best-known way exists, is current, and is actually followable at pace. Common roots here: no standard work at all, a standard that's out of date, two shifts running the step differently, or a sequence that forces a shortcut to hit takt. If the "right way" is slower than the line allows, people will quietly invent a faster, riskier way — and that's a Method root, not a discipline problem.
4Material — incoming parts and consumables — variation you didn't make
Out-of-spec raw stock, a mixed lot from a supplier, the wrong adhesive, a substituted fastener, moisture in a resin. Material causes often hide because the defect shows up at your station even though the variation entered upstream. Check lot numbers and supplier changes against when the defect started. If the spike lines up with a new lot, you may be looking at an incoming-quality problem wearing a production-defect costume.
5Measurement — gauges, inspection, and calibration — is the defect even real?
Before you chase a cause, make sure you're measuring it honestly. An out-of-calibration gauge, an ambiguous go/no-go criterion, two inspectors interpreting "acceptable" differently, or a check done in the wrong light can manufacture a "defect" that doesn't exist — or hide one that does. The Measurement bone is the one office-style fishbones forget and manufacturing can't: if the measurement system is noisy, every other branch is built on sand.
6Mother Nature — the environment — temperature, humidity, vibration, dust
The plant floor is a physical place. Temperature and humidity swings affect adhesives, coatings, and dimensional tolerances; vibration from a neighboring press shifts a setup; dust contaminates a seal; a seasonal HVAC change moves the dew point. Environmental causes show a tell-tale pattern — the defect tracks time of day, season, or weather — so plot when it happens before you rule this bone out.
How to run your first fishbone session (step-by-step)
Pick one measurable problem — one defect mode on one line — not "quality." A fishbone is a team exercise; the diagram is just the scaffolding for a focused conversation.
- Write a sharp problem statement on the head. Make it specific and measurable: the defect, where, how often, which shift. "Crimp pull-out failures, 3% on Cell 4, both shifts" beats "connector problems." This is the effect; everything else is a candidate cause.
- Go to the gemba first — the gemba is simply the actual place the work happens, the floor. Don't fill the bones from a conference room. Watch the step happen, look at the failed parts, talk to the people who run it. You'll generate far better causes after you've seen the actual work.
- Brainstorm causes into the 6 Ms. Take each M in turn and ask "what here could cause the effect?" Write every plausible cause on a bone — no debating yet. Encourage the line operators to talk; they know the workarounds the engineers don't.
- Drill the strongest branches with 5 Whys. Pick the two or three most likely causes and ask "why" down each until you hit something you can act on. Stop when the next "why" leaves the process and blames a person — back up one level; the real root is there.
- Mark causes you can verify, then go verify them. A fishbone produces hypotheses, not conclusions. Circle the few most likely roots and confirm with data at the gemba — pull the maintenance log, check the gauge, run a quick comparison — before committing a fix.
- Translate the confirmed root into a designed-out fix. A root cause you can only "remind people about" isn't done. Push for a poka-yoke, a jidoka stop, a fixture change, or a gauge fix that makes the defect physically hard to create — then re-measure the head metric to prove it.
A focused single-defect pass like this is a kaizen in miniature, and it slots straight into the Analyze step of an A3 if the problem is big enough to warrant one.
A worked example: a recurring crimp defect
To make the 6 Ms concrete, here's how a session would play out on one defect. The numbers are an honest hypothetical — the moves are the ones you'd actually make.
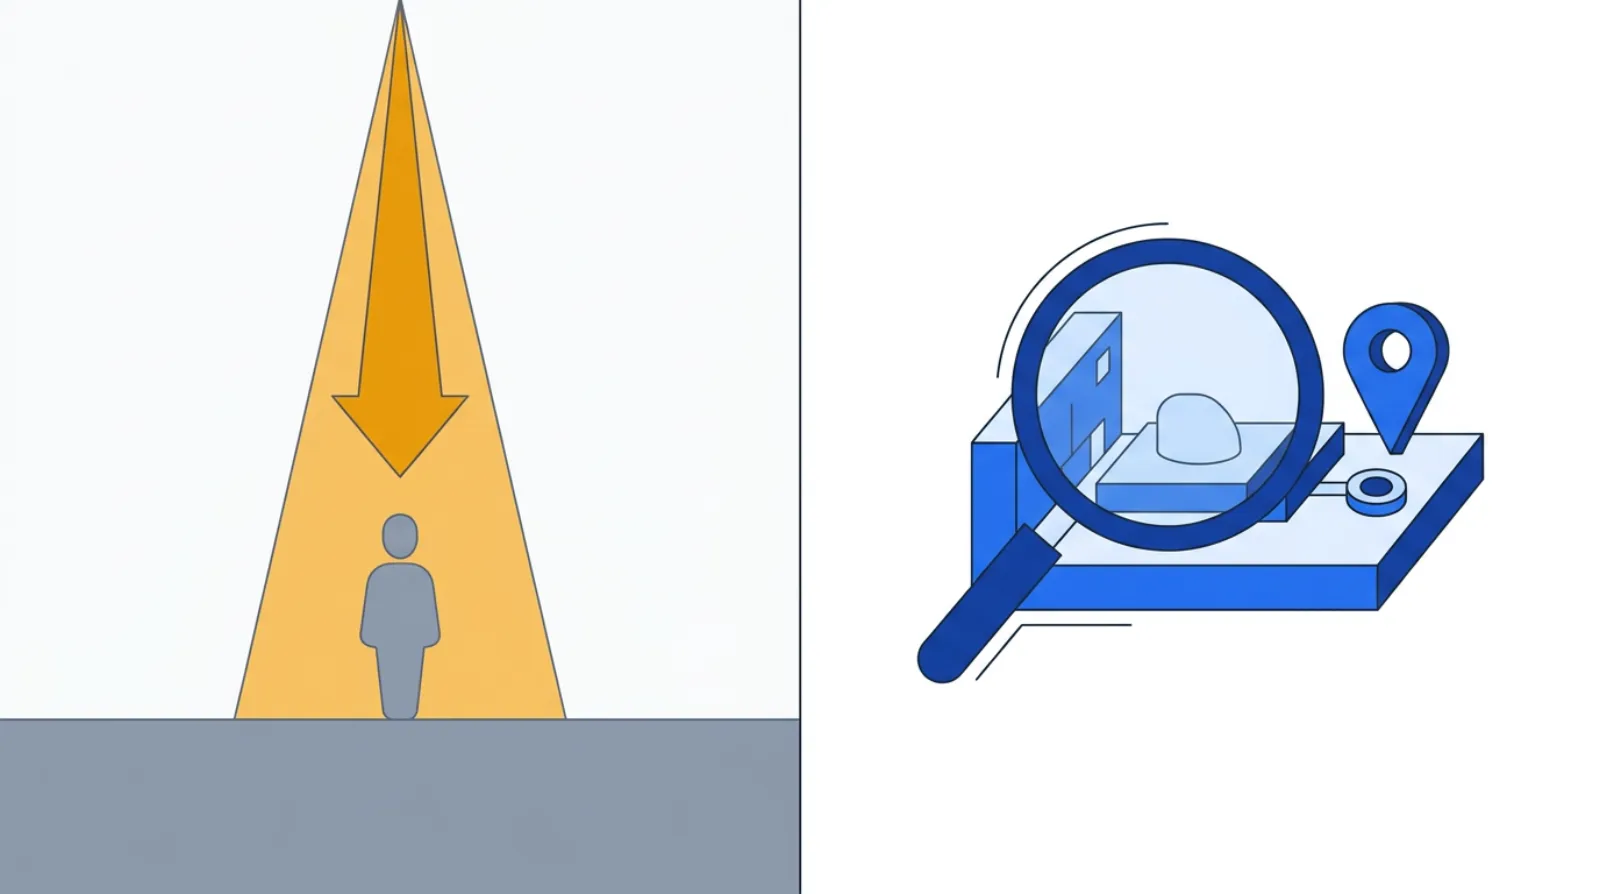 The wrong root is "operator error"; the right root is a missing physical safeguard you can design in.
Say Cell 4 crimps a wire terminal into a connector, and the head metric is clear: about 3% of connectors fail a crimp pull-test, both shifts, and it's been creeping up for a month. The team goes to the gemba, looks at the failures, and fills the bones:
| 6-M branch | Candidate causes raised | Verify how? |
|---|---|---|
| Man | "Operator seated the terminal crooked" | Watch several cycles — but this fails the one-line test |
| Machine | Crimp die worn; no positive stop so a terminal can sit half-seated | Check die wear log; inspect the nest fixture |
| Method | Standard work doesn't specify a seating check | Compare shifts; read the work instruction |
| Material | New terminal lot slightly out of dimensional spec | Pull lot numbers vs. defect dates |
| Measurement | Pull-tester last calibrated 9 months ago | Check calibration tag |
| Mother Nature | None obvious — defect doesn't track time of day | Plot defects by hour (rules it out) |
The tempting answer is the Man bone — "operators are seating terminals crooked, retrain them." But it fails the one-line test: a careful, well-trained person on a bad night could still seat a terminal a hair off, because nothing stops them. So the team drills the Machine branch with 5 Whys:
- Why do crimps fail pull-test? — The terminal was crimped while not fully seated in the nest.
- Why was it not fully seated? — There's no positive stop or seated-detection in the fixture; a partial seat looks identical to a full one.
- Why is there no detection? — The nest was designed to locate the part but never to confirm it before the press fires.
- Why does the press fire on an unconfirmed part? — The crimp cycle has no interlock tied to seat position.
- Why no interlock? — Seat confirmation was never treated as a quality requirement at design — it was assumed the operator would "just see it."
The root isn't the operator — it's a missing signal. The fix designs it out: add a seated-position sensor wired to a jidoka interlock so the press physically can't crimp until the terminal is fully home, with an andon signal — a visible alert that calls attention to the problem — if it sits wrong. That's a poka-yoke: the defect becomes hard to create instead of something you inspect for after the fact. Retraining might shave the rate; the interlock targets zero — and it protects the next new hire, the next tired shift, and the next rushed changeover. (You'd still chase the worn-die and stale-calibration causes in parallel, but the interlock is the one that changes the physics.)
Map your own defect the same way — drop the effect on the head, sort your causes into the 6 Ms, and mark the branches to drill:
A simple fishbone health check
You don't run a full session for every problem. Before you trust a fishbone the team built, walk it and answer five questions — keep it to one page so it actually gets used:
- Measurable head: Is the problem statement a specific, countable effect (defect, scrap, downtime), not a feeling?
- All six Ms considered: Did you actually look at Measurement and Mother Nature, or stop at Man, Machine, Method?
- The one-line test: Does every cause on the Man bone survive "could a careful, trained person still produce this"? If not, you've blamed instead of analyzed.
- Verified, not assumed: Are the circled root causes confirmed with gemba data, or still hunches?
- Designed out: Does the chosen fix make the defect physically hard to create (a poka-yoke, interlock, or gauge fix), or does it just ask people to be more careful?
Build and share the diagram itself — six bones, drillable branches, the effect on the head — with the free fishbone diagram tool.
Common manufacturing fishbone mistakes
- Letting "Man" become the answer. The fastest way to waste a session is to fill the Man bone with "operator error" and stop. The person is where the defect surfaced; the root is the process that allowed it. Fix the process, not the person.
- A fuzzy effect on the head. "Bad quality" can't be drilled or measured. Start from a number — a specific defect rate, on a specific line, on a specific shift.
- Skipping the Measurement bone. Half the time the "defect" is a noisy gauge or an ambiguous criterion. Confirm the measurement system before chasing the other five Ms.
- Treating the diagram as the answer. A full fishbone is a list of hypotheses. The work is verifying the likely few with data, not crowning the loudest opinion.
- Stopping the 5 Whys at a person. If the chain ends at "operator didn't," you stopped one level too early. The real root is the missing signal, standard, or safeguard behind them.
- No re-measurement. A fix you don't verify against the head metric is a guess. Watch the defect rate after the change — if it didn't move, your root was wrong.
Templates & tools
- Free fishbone diagram tool — drop your effect on the head, sort causes into the 6 Ms, and drill the branches. No login required.
- 5 Whys — the drill-down you run on the strongest bones to reach a designed-out root.
- Pareto chart — before you fishbone, use a Pareto to pick which defect is worth the session; chase the vital few, not the trivial many.
FAQ
What is a fishbone diagram in manufacturing? It's a cause-and-effect diagram (also called an Ishikawa diagram) that sorts the possible causes of one measurable problem — a defect, scrap spike, or downtime event — into the 6 Ms: Man, Machine, Method, Material, Measurement, and Mother Nature. The shape resembles a fish skeleton, with the problem as the head and each category as a bone. It organizes a team's hunches so they can be tested rather than argued.
What are the 6 Ms of a fishbone diagram? Man (the operator and how the work is set up), Machine (equipment, fixtures, tooling), Method (standard work and sequence), Material (incoming parts and consumables), Measurement (gauges, inspection, calibration), and Mother Nature (temperature, humidity, vibration, dust). They give a team six different places to look so they don't fixate on one.
How is a fishbone diagram different from the 5 Whys? A fishbone is broad — it lays out many possible causes across the 6 Ms. The 5 Whys is deep — it drills one cause down to its root. They work together: fishbone to surface and sort candidates, 5 Whys to drill the most likely branches until you reach something you can design out.
Why shouldn't "operator error" be a root cause? Because it fails the one-line test: if a careful, well-trained person could still produce the defect, the process allowed it. "Operator error" blames the person where the defect appeared instead of fixing the missing signal, standard, or safeguard behind them. The Toyota principle is to build quality in at the source — design the error out with a poka-yoke, don't ask people to be more careful.
When should I use a fishbone instead of jumping to a fix? When a problem is recurring, has multiple plausible causes, or keeps coming back after quick fixes. If the cause is obvious and singular, fix it. If the team disagrees about why a defect happens, the fishbone turns the argument into a structured set of testable hypotheses.
Related concepts & guides
- Dictionary: Fishbone Diagram · Ishikawa Diagram · Root Cause Analysis · 5 Whys · Poka-Yoke · Mistake-Proofing · Jidoka · Andon · Pareto Chart · A3 Problem Solving
- Guides: How to Use Takt Time in Manufacturing for the pace your fix has to hold · How to Use a Fishbone Diagram in a Restaurant for the same method in a service kitchen
Sources
- Lean Enterprise Institute, Lean Lexicon: Fishbone (Ishikawa) Diagram
- American Society for Quality (ASQ), Fishbone (Cause-and-Effect / Ishikawa) Diagram